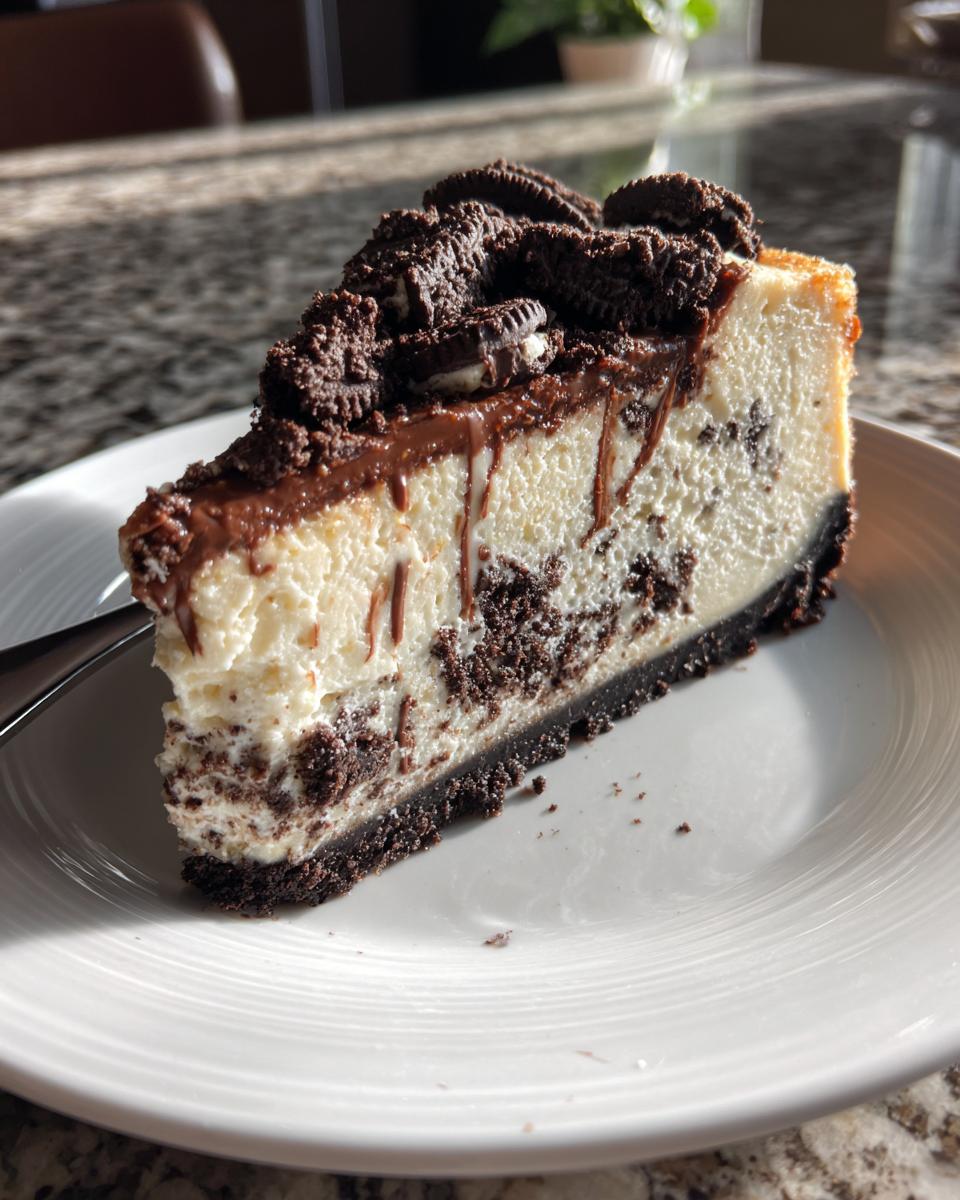
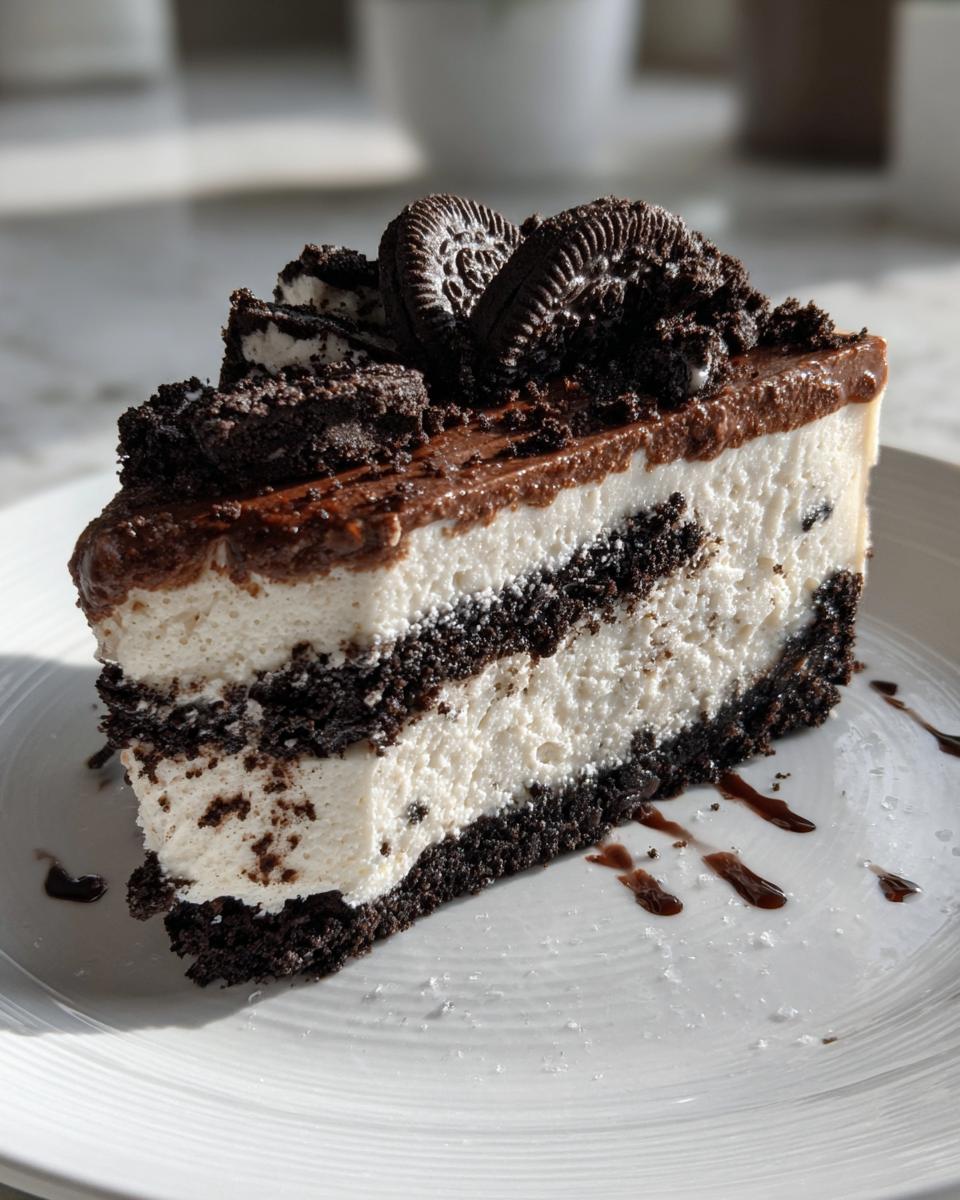
Okay, let me tell you about my love affair with Oreo cheesecake—it’s serious business. The first time I made this creamy, dreamy dessert, I swear my kitchen smelled like heaven. There’s just something magical about crushing Oreos into buttery crumbs for that perfect crust, then swirling in chunks of cookies with velvety cheesecake filling. I’m not exaggerating when I say this Oreo cheesecake is the stuff of dessert legends.
Picture this: a fork gliding through that rich, dense filling, hitting a pocket of crunchy Oreo bits, then landing on that chocolatey crust. It’s like a symphony of textures! My friends now demand this cheesecake at every gathering—birthdays, holidays, even “just because” Tuesdays. And honestly? I don’t blame them. The balance of sweet cream cheese and those dark, crumbly Oreos is downright addictive. Trust me, once you try this, store-bought cheesecake will never compare.
What makes this recipe special? It’s foolproof. No water baths, no fancy techniques—just simple ingredients transformed into something extraordinary. Whether you’re a baking newbie or a seasoned pro, this Oreo cheesecake will make you look like a dessert rockstar.
Why You’ll Love This Oreo Cheesecake
Let me count the ways this Oreo cheesecake will steal your heart (and probably your waistline):
- Creamy dreaminess: That velvety smooth texture is pure bliss—like biting into a cloud if clouds were made of cream cheese and happiness.
- Cookie crunch magic: Every forkful gives you that perfect contrast between silky filling and those irresistible Oreo chunks.
- Easy peasy: No fancy techniques here—just mix, bake, chill. I’ve made this half-asleep at midnight (don’t ask) and it still turned out perfect.
- Crowd pleaser: Kids go wild for it, adults pretend to be civilized while stealing second slices. It’s the dessert that unites generations.
- Make-ahead marvel: Tastes even better the next day, so you can stress less when entertaining.
Seriously, this cheesecake is the edible equivalent of a warm hug—comforting, indulgent, and impossible to resist.
Ingredients for Oreo Cheesecake
Gathering the right ingredients is half the battle for cheesecake perfection. Here’s exactly what you’ll need to raid from your pantry:
- 24 Oreo cookies, crushed (about 2 cups – don’t remove the cream filling!)
- 4 tbsp butter, melted (unsalted works best so you control the saltiness)
- 16 oz cream cheese, softened (leave it out 2 hours—trust me, lumpy cheesecake batter is tragic)
- 1 cup granulated sugar (yes, the full cup—this is dessert, not health food)
- 1 tsp pure vanilla extract (skip the imitation stuff here)
- 3 large eggs, room temp (cold eggs make the batter curdle—learned this the hard way)
- 1/2 cup sour cream (the secret weapon for ultra-creamy texture)
- 10 Oreo cookies, coarsely chopped (I like big, uneven chunks throughout)
Pro tip: Measure everything before starting—there’s nothing worse than realizing mid-mix that you’re short one egg!
Equipment You’ll Need
You don’t need fancy gadgets to make this Oreo cheesecake—just a few trusty kitchen staples:
- 9-inch springform pan (the only way to get that perfect cheesecake release)
- Electric mixer (handheld works, but stand mixer makes creaming effortless)
- Silicone spatula (for scraping every last bit of that delicious batter)
- Food processor or ziplock bag (to crush those Oreos without making a mess)
- Measuring cups/spoons (precision matters with cheesecake!)
That’s it! Now let’s get mixing.
How to Make Oreo Cheesecake
Okay, let’s get to the good stuff! Making this Oreo cheesecake is easier than you think—just follow these steps and you’ll have a showstopper dessert that’ll make everyone think you’re a pastry chef.
Preparing the Oreo Crust
First, preheat your oven to 325°F (165°C)—this is crucial for even baking. Now, take those 24 Oreos (yes, the whole cookies—cream filling and all!) and crush them into fine crumbs. I like using a food processor, but a ziplock bag and rolling pin work great too. Mix the crumbs with melted butter until it looks like wet sand. Press this mixture firmly into your springform pan, going up the sides about an inch. Pop it in the oven for 10 minutes to set—this keeps your crust from getting soggy later!
Mixing the Cheesecake Filling
Here’s where the magic happens. Beat the softened cream cheese and sugar together until completely smooth—no lumps allowed! Scrape down the bowl often. Add vanilla, then the eggs one at a time, mixing just until combined after each. Overbeating eggs makes cheesecake puff up and crack, so go easy! Finally, gently fold in the sour cream (this adds that dreamy texture) and chopped Oreo pieces. You want those cookie chunks evenly distributed but not smashed.

Baking and Chilling
Pour the filling over your pre-baked crust and smooth the top. Bake for 50-55 minutes—the edges should look set but the center will still jiggle slightly. Turn off the oven, crack the door, and let it cool inside for an hour (this prevents cracks!). Then refrigerate for at least 4 hours, though overnight is better. I know—the wait is torture, but trust me, it’s worth it for that perfect sliceable texture!
Tips for the Perfect Oreo Cheesecake
After making this Oreo cheesecake more times than I can count (okay, maybe I can count—it’s a lot), I’ve learned all the tricks for flawless results every time. First rule: room temperature ingredients are non-negotiable. Cold cream cheese equals lumpy batter, and nobody wants that. Take everything out 2 hours before baking—eggs, cream cheese, even the sour cream.
Second secret? Don’t rush the chill time. I know it’s tempting to slice into it after 2 hours, but that overnight rest in the fridge makes all the difference. The flavors deepen and the texture sets up perfectly. And if you see tiny cracks forming during baking? No panic! A dollop of whipped cream or extra Oreo crumbs covers any imperfections beautifully.
One last pro tip: use a hot knife for clean slices. Just run your knife under hot water, wipe dry, and cut—repeat between each slice for picture-perfect wedges every time.
Oreo Cheesecake Variations
Once you’ve mastered the classic Oreo cheesecake, the fun really begins! My favorite twist? Swap regular Oreos for mint ones—that cool peppermint kick takes this dessert to holiday-worthy status. Feeling extra indulgent? Drizzle melted chocolate over the top while it’s still slightly warm so it sets into pretty swirls.
For peanut butter lovers, try mixing in chopped peanut butter cups instead of Oreo chunks. And if you’re feeling fancy, layer in some caramel sauce between the crust and filling—the sweet-salty combo is unreal. The best part? This recipe is like your favorite little black dress—dress it up or down depending on your mood!
Serving and Storing Oreo Cheesecake
Now for the best part—eating your masterpiece! I love serving this Oreo cheesecake with extra crushed cookies on top for crunch, or a drizzle of chocolate sauce for fancy occasions. Fresh berries cut the richness beautifully too. Leftovers? (As if!) Store slices in an airtight container in the fridge for 3-4 days—though mine never lasts that long. Pro tip: Freeze individual wedges wrapped in plastic for up to a month. Thaw overnight in the fridge, and you’ve got instant dessert magic whenever cravings strike!
Oreo Cheesecake FAQs
Q1. Can I freeze Oreo cheesecake?
Absolutely! This cheesecake freezes like a dream. Just wrap individual slices tightly in plastic wrap, then foil, and freeze for up to 1 month. Thaw overnight in the fridge—it’ll taste just as creamy as the day you made it. I always stash a slice or two for emergencies (like when my nephew shows up unannounced!).
Q2. Can I use reduced-fat cream cheese?
I’ll be honest—full-fat cream cheese gives the best texture and flavor. The reduced-fat version works in a pinch, but your cheesecake might be slightly less creamy and more prone to cracking. If you do go lighter, add an extra tablespoon of sour cream to help maintain moisture.
Q3. Why did my cheesecake crack?
Don’t stress—it still tastes amazing! Cracks usually happen from overmixing (incorporating too much air) or cooling too quickly. Next time, try the water bath method: wrap your springform pan in foil and place it in a roasting pan with hot water halfway up the sides while baking.
Q4. Can I make this without a springform pan?
While springform pans are ideal, you can use a regular 9-inch cake pan lined with parchment paper (let the paper hang over the edges for easy removal). Just be extra careful when unmolding—run a knife around the edges first!
Q5. How do I know when it’s done baking?
The cheesecake is ready when the edges look set but the center still jiggles slightly (like Jell-O) when you gently shake the pan. It’ll firm up as it cools. Overbaking leads to dry texture, so when in doubt, take it out!
Nutritional Information
Here’s the scoop on nutrition—but remember, these numbers can vary based on specific brands and exact measurements. Per generous slice (about 1/10th of the cheesecake), you’re looking at roughly 450 calories. Yeah, it’s indulgent, but totally worth every bite! The sugar content sits around 32g (thank you, Oreos), with 28g of fat—because creamy perfection doesn’t come fat-free. Just balance it out with a salad for dinner… or don’t. I won’t judge!
*Nutritional values are estimates only. For precise counts, calculate using your exact ingredients.
Share Your Oreo Cheesecake Experience
I’d love to hear how your Oreo cheesecake turned out! Did you add any fun twists? Maybe a sprinkle of sea salt or a handful of mini chocolate chips? Drop a comment below and tell me all about it—I read every single one. And if you loved this recipe as much as I do (trust me, you will), give it a 5-star rating so more dessert lovers can find this little slice of heaven!
PrintCreamy Oreo Cheesecake Recipe – 4 Steps to Bliss

A creamy and rich Oreo cheesecake with a cookie crust.
- Prep Time: 20 mins
- Cook Time: 55 mins
- Total Time: 4 hrs 15 mins
- Yield: 10 servings 1x
- Category: Dessert
- Method: Baking
- Cuisine: American
- Diet: Vegetarian
Ingredients
- 24 Oreo cookies, crushed
- 4 tbsp butter, melted
- 16 oz cream cheese, softened
- 1 cup sugar
- 1 tsp vanilla extract
- 3 eggs
- 1/2 cup sour cream
- 10 Oreo cookies, coarsely chopped
Instructions
- Preheat oven to 325°F (165°C).
- Mix crushed Oreos and melted butter. Press into a 9-inch springform pan.
- Beat cream cheese and sugar until smooth. Add vanilla and eggs, one at a time.
- Fold in sour cream and chopped Oreos.
- Pour mixture over crust and bake for 50-55 minutes.
- Let cool, then refrigerate for at least 4 hours.
Notes
- Use room-temperature cream cheese for smoother blending.
- Chilling overnight enhances flavor.
Nutrition
- Serving Size: 1 slice
- Calories: 450
- Sugar: 32g
- Sodium: 380mg
- Fat: 28g
- Saturated Fat: 15g
- Unsaturated Fat: 10g
- Trans Fat: 0g
- Carbohydrates: 42g
- Fiber: 1g
- Protein: 6g
- Cholesterol: 120mg