Oh my goodness, let me tell you about the first time I made this loaded butterscotch cheesecake – it was pure magic! I’ll never forget how the rich caramel aroma filled my tiny apartment kitchen, making my neighbors knock on the door asking what smelled so incredible. That’s when I knew this wasn’t just another dessert recipe – it was something special.
The secret? That perfect balance between creamy New York-style cheesecake and decadent butterscotch flavor that makes every bite feel like a warm hug. Unlike regular cheesecakes, this version packs double the indulgence with butterscotch chips melted right into the batter plus an extra drizzle on top (because why not?). Trust me, once you try this loaded butterscotch cheesecake, you’ll understand why it’s become my go-to dessert for birthdays, holidays, or frankly… any Tuesday that needs brightening up!
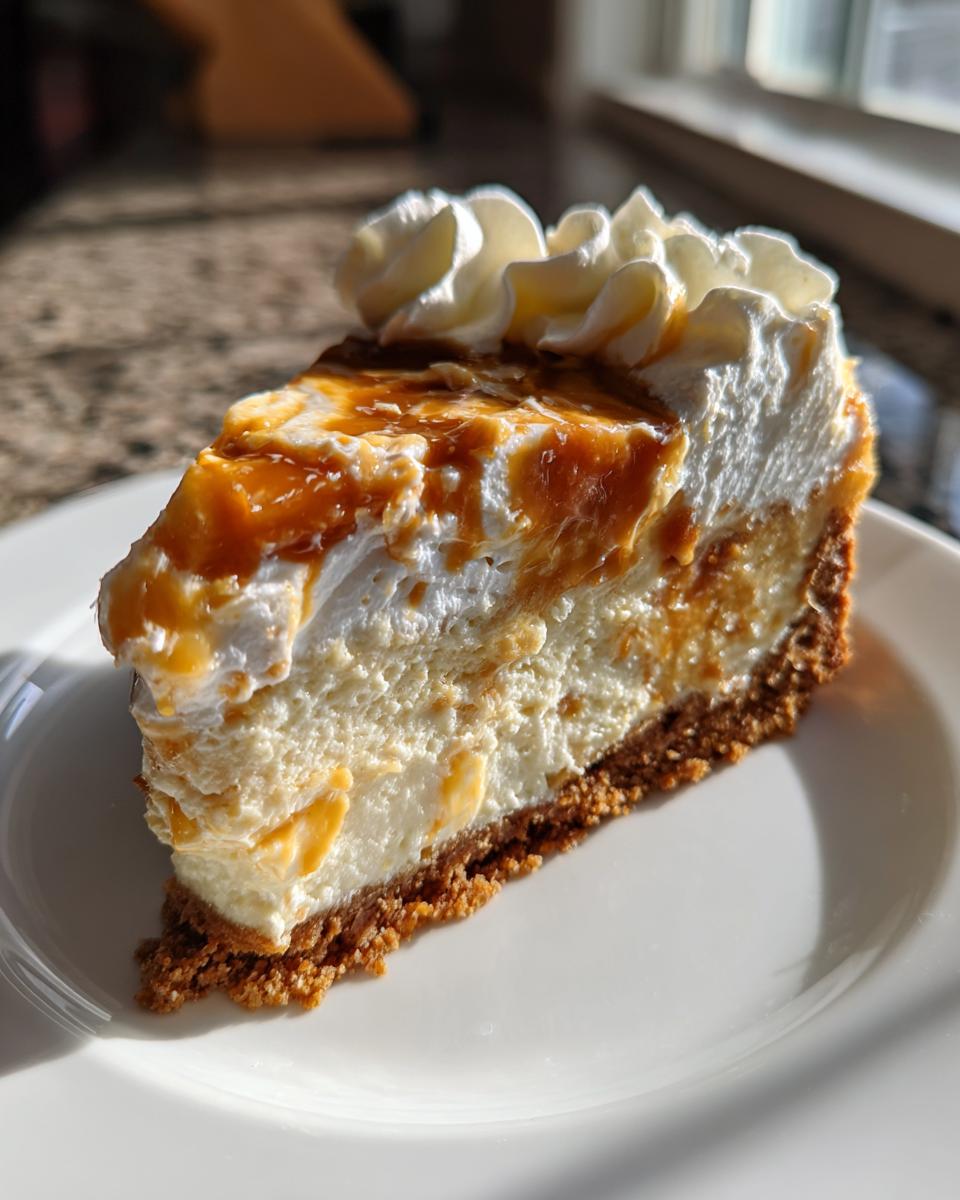
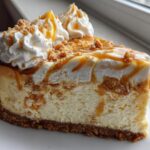
What I love most is how the smooth, velvety texture contrasts with the slight crunch of the graham cracker crust. It’s the kind of dessert that makes people close their eyes after the first bite – you know, that “wow” moment when flavors just click. And the best part? It’s way easier to make than it looks!
Why You’ll Love This Loaded Butterscotch Cheesecake
After fifteen years of baking professionally (and eating way too much cheesecake for “research”), I can confidently say this loaded butterscotch version hits all the right notes. Here’s why it’ll become your new favorite:
- That unbeatable creamy texture – The perfect blend of cream cheese, eggs, and heavy cream creates a melt-in-your-mouth experience that’s rich without being heavy
- Caramel-y butterscotch magic – Unlike plain cheesecakes, every bite delivers that warm, toasty flavor that makes people say “What is that amazing taste?”
- Foolproof impressive dessert – It looks fancy but comes together with simple steps (I’ve taught this recipe to brand new bakers with perfect results)
- Versatile crowd-pleaser – Equally at home at holiday dinners or casual potlucks (my cousin requests it for every family gathering now)
Seriously, this cheesecake has that magical quality where people keep sneaking “just one more sliver” until suddenly the whole pan’s gone. You’ve been warned!
Ingredients for Loaded Butterscotch Cheesecake
Gathering your ingredients is the first step to cheesecake success! Here’s exactly what you’ll need – I’ve learned through trial and error that quality matters, so don’t skimp:
- Crust:
- 2 cups graham cracker crumbs (about 15 whole crackers)
- 1/2 cup unsalted butter, melted (that’s 1 stick)
- 1 tbsp sugar (trust me, this little extra makes the crust perfect)
- Filling:
- 24 oz (3 packages) Philadelphia cream cheese – must be room temperature
- 1 cup granulated sugar
- 3 large eggs, room temperature
- 1 cup butterscotch chips (I prefer Ghirardelli)
- 1 tsp pure vanilla extract
- 1/2 cup heavy whipping cream
- Pinch of salt (balances the sweetness beautifully)
See those room temp notes? They’re not suggestions – cold cream cheese will leave lumps no matter how long you mix, and cold eggs can make your batter separate. Learned that the hard way!
Ingredient Notes & Substitutions
Let’s talk about those butterscotch chips – they’re the star! While you can use regular chocolate chips, it won’t be the same (though peanut butter chips make a fun variation). No butterscotch chips? Melt 3/4 cup brown sugar with 2 tbsp butter as a quick fix.
For the crust, ginger snaps or vanilla wafers work if you’re out of graham crackers. And vegans – swap in your favorite plant-based cream cheese and coconut cream, though the texture will be slightly different. Just promise me you’ll never use margarine instead of real butter – Grandma would haunt my dreams!
Equipment Needed for Loaded Butterscotch Cheesecake
Here’s your simple toolkit for cheesecake success – nothing fancy required!
- 9-inch springform pan (the removable sides make serving a breeze)
- Stand mixer or handheld electric mixer (though I’ve used a whisk and strong arms in a pinch)
- Heatproof bowl for melting butterscotch chips
- Rubber spatula (don’t leave any batter behind!)
- Measuring cups/spoons (baking is science, after all)
That’s it! No special gadgets needed – just good old-fashioned baking basics.
How to Make Loaded Butterscotch Cheesecake
Okay, let’s get our hands dirty – this is where the magic happens! I promise it’s easier than it looks, and I’ll walk you through each step just like I do with my baking students. Here’s your foolproof roadmap to cheesecake heaven:
- Prep your pan: Wrap the outside of your springform pan with aluminum foil (this prevents leaks!). Press the graham cracker mixture firmly into the bottom – I use a measuring cup to really pack it down evenly.
- Cream cheese magic: Beat the room temp cream cheese and sugar on medium speed for 3 full minutes until it’s completely smooth – no lumps allowed! Scrape down the bowl halfway through.
- Egg-cellent addition: Add eggs one at a time, mixing just until incorporated after each. Overbeating here can lead to cracks later!
- Butterscotch bliss: Melt your chips gently (microwave in 30-second bursts, stirring between), then let cool slightly before folding into the batter with vanilla and salt.
- Final touch: Slowly pour in the heavy cream while mixing on low – you’ll see the batter become gloriously silky.
- Bake with love: Pour into your prepared pan and smooth the top. Bake at 325°F for 50-55 minutes until the edges are set but the center still jiggles slightly.
- Cool it down: Here’s my secret – run a knife around the edge immediately after baking, then let cool gradually in the oven with the door cracked open for an hour before refrigerating.
Step-by-Step Instructions
Now let’s talk details because the little things make all the difference! When mixing your cream cheese, I can’t stress enough how important it is to start with room temperature ingredients – cold cream cheese will leave lumps no matter how long you beat it. And those eggs? Add them one at a time and mix just until combined – overbeating incorporates too much air which leads to cracks.
The baking technique is crucial too – that water bath method everyone talks about? Skip it! I’ve found that baking at a lower temperature (325°F) without the water bath actually gives better results with less hassle. Just be patient – cheesecakes don’t like to be rushed. When the timer goes off, your cheesecake should look set around the edges with just a slight jiggle in the center (like Jell-O).
The gradual cooling is my favorite trick – turning off the oven and cracking the door lets the cheesecake adjust slowly to temperature changes, preventing those dreaded cracks. Then it’s minimum 4 hours in the fridge (overnight is even better) to achieve that perfect firm-yet-creamy texture.
Decorating Your Loaded Butterscotch Cheesecake
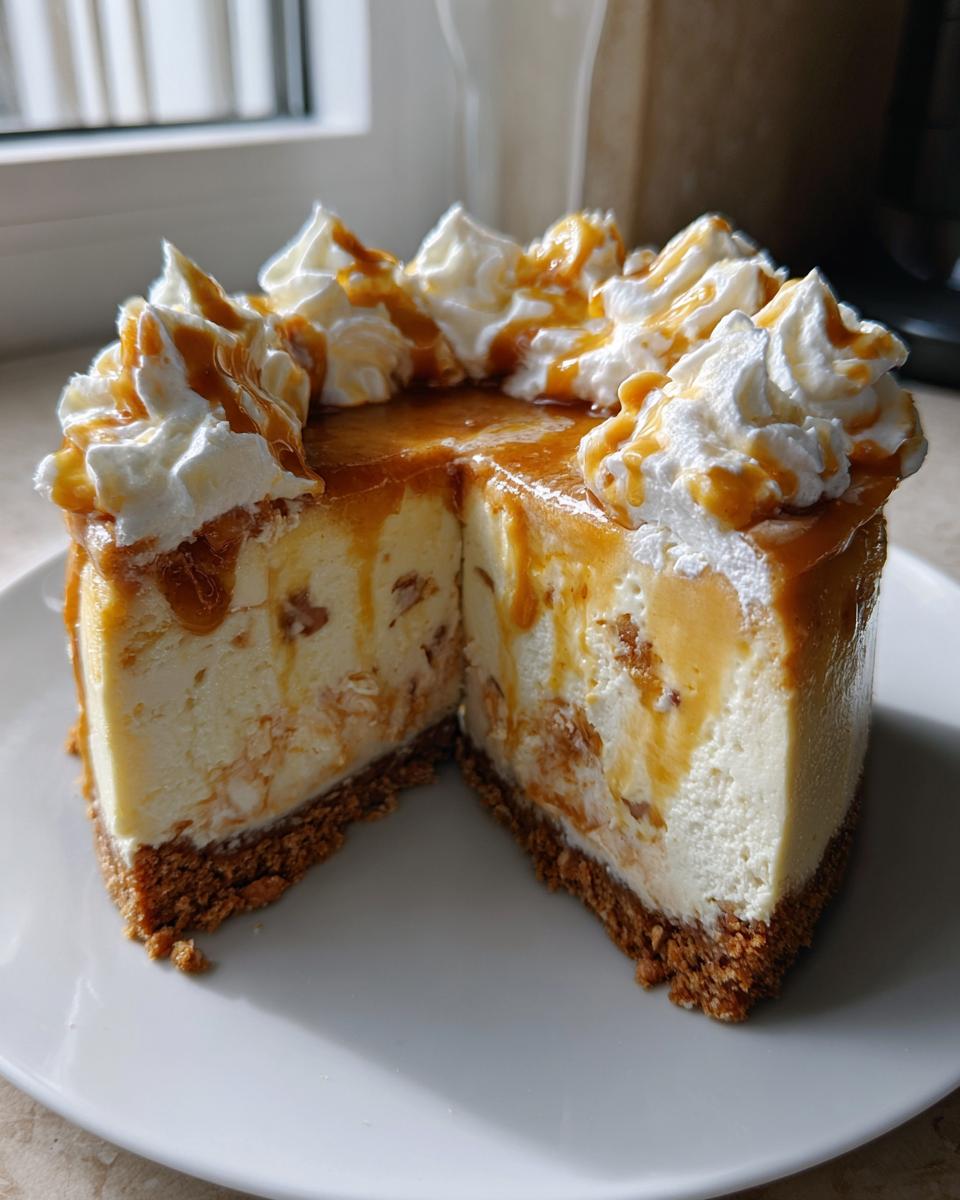
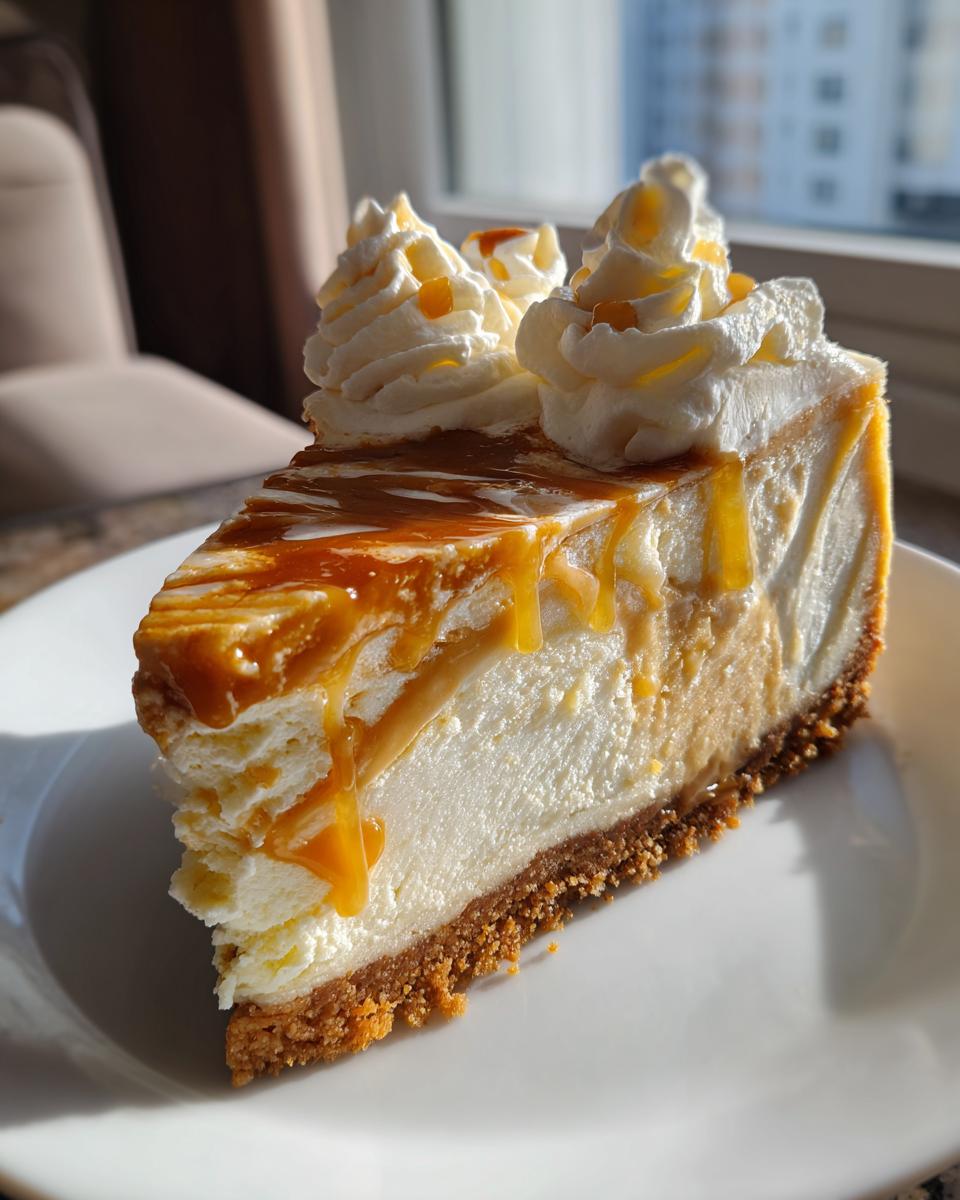
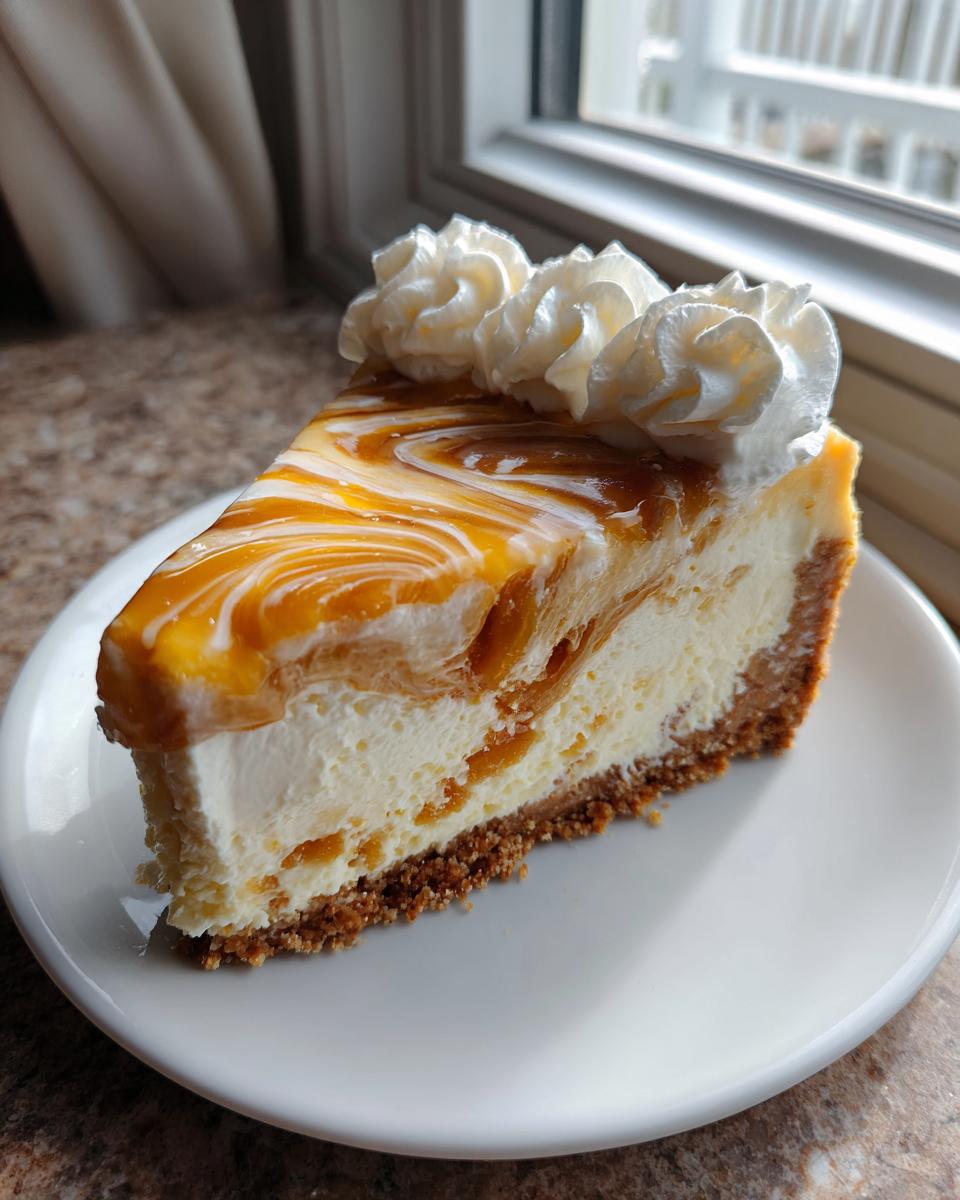
Now for the fun part – making it look as good as it tastes! My go-to is simple whipped cream piped around the edges with extra butterscotch chips sprinkled on top. Feeling fancy? Drizzle some melted butterscotch in zig-zags across the top – bonus points if you let some drip down the sides!
For holidays, I’ll sometimes sprinkle chopped toasted pecans around the border or dust with cocoa powder for contrast. But honestly? This cheesecake is so stunning with just its golden top peeking through the whipped cream that sometimes simple is best. The taste will wow everyone regardless!
Tips for Perfect Loaded Butterscotch Cheesecake
After making this cheesecake more times than I can count (for research purposes, obviously), I’ve gathered all my best tricks to help you nail it on your first try. These are the little things that separate good cheesecake from “oh-my-gosh-can-I-have-the-recipe” cheesecake!
Temperature is everything: I know I sound like a broken record, but room temperature ingredients really do make all the difference. Take your cream cheese out at least 2 hours before baking – when you press your finger in, it should leave an indent without resistance. Cold cream cheese = lumpy batter, and nobody wants that!
Mix with care: When adding eggs, mix just until combined – overbeating incorporates too much air which leads to cracks. I always switch to a wooden spoon for the final folds to keep things gentle. And that melted butterscotch? Let it cool slightly before adding or it might scramble your eggs!
Baking zen: Don’t open the oven door for at least the first 30 minutes – sudden temperature drops can cause cracks. If the top starts browning too quickly, just loosely tent with foil. And remember – a slight jiggle in the center means it’s done!
Patience pays off: I know it’s hard, but you must let it cool gradually. That hour in the turned-off oven with the door cracked? Non-negotiable. Then minimum 4 hours in the fridge (though overnight is ideal). Cutting into it too soon is the #1 mistake I see – the center will firm up beautifully if you wait!
Storage & Serving Suggestions
Now let’s talk about keeping and serving your masterpiece! This loaded butterscotch cheesecake actually tastes even better the next day as the flavors meld. Store any leftovers (if you somehow have any!) tightly wrapped in the fridge for up to 5 days – just place toothpicks in the top before covering with plastic wrap so it doesn’t stick.
For serving, let it sit at room temperature for about 15 minutes before slicing – that slight chill makes the texture absolutely perfect. Use a hot knife (dip it in hot water and wipe dry between cuts) for picture-perfect slices every time. My favorite pairings? Strong black coffee cuts through the richness beautifully, or go all-out with a scoop of vanilla bean ice cream on the side. Honestly though, this cheesecake shines bright enough to stand completely alone – no frills needed!
Loaded Butterscotch Cheesecake FAQs
I get so many questions about this cheesecake that I could write a whole book! Here are the answers to the ones that pop up most often – straight from my kitchen to yours:
Can I freeze this cheesecake? Absolutely! Wrap it tightly in plastic wrap then foil (no air exposure!) and freeze for up to 2 months. Thaw overnight in the fridge before serving. The texture stays perfect – I always keep one in my freezer for emergencies (like when my book club suddenly decides to meet!).
Why did my cheesecake crack? Don’t panic! It happens to the best of us. Usually it’s from overmixing the batter or cooling too quickly. The good news? That’s what whipped cream toppings are for! Next time, try my gradual cooling method – oven door cracked for an hour works wonders.
Can I make this without a springform pan? In a pinch, a regular 9-inch cake pan lined with parchment paper will work. Just know you’ll have to serve it from the pan. But honestly? Springform pans are worth the investment – I’ve had mine for 15 years!
How far in advance can I make this? This cheesecake actually improves with time! Bake it 1-2 days before serving – the flavors develop beautifully. Just wait to add the whipped cream topping until right before serving.
What’s the best way to melt butterscotch chips? Microwave in 30-second bursts, stirring between each, or use a double boiler. Watch them closely – they burn easily! Let them cool slightly before adding to the batter so they don’t cook the eggs.
Nutritional Information
Now let’s talk numbers – but remember, these are estimates based on my exact ingredients. Your results might vary slightly depending on brands and measurements (I’m looking at you, generous butterscotch chip pourers!). Here’s the scoop on what you’re enjoying:
- Per slice (1/12 of cake): About 450 calories
- Sweet stuff: 32g sugar (worth every grain!)
- Creamy goodness: 28g total fat (16g saturated)
- Protein boost: 6g per slice
- Carbs: 42g (with 1g fiber)
If you’re counting, smaller slices obviously mean fewer calories – but let’s be real, who stops at just one? Everything in moderation… including moderation when it comes to this cheesecake!
PrintDecadent Loaded Butterscotch Cheesecake Recipe for 8 Blissful Bites
A rich and creamy cheesecake loaded with butterscotch flavor, perfect for any occasion.
- Prep Time: 20 minutes
- Cook Time: 50 minutes
- Total Time: 5 hours 10 minutes
- Yield: 12 servings 1x
- Category: Dessert
- Method: Baking
- Cuisine: American
- Diet: Vegetarian
Ingredients
- 2 cups graham cracker crumbs
- 1/2 cup melted butter
- 24 oz cream cheese, softened
- 1 cup sugar
- 3 eggs
- 1 cup butterscotch chips
- 1 tsp vanilla extract
- 1/2 cup heavy cream
Instructions
- Preheat oven to 325°F.
- Mix graham cracker crumbs and melted butter, press into a springform pan.
- Beat cream cheese and sugar until smooth.
- Add eggs one at a time, mixing well after each.
- Melt butterscotch chips and fold into the batter with vanilla.
- Pour batter over crust and bake for 50 minutes.
- Let cool, then refrigerate for at least 4 hours.
- Whip heavy cream and spread over chilled cheesecake.
Notes
- Use room temperature cream cheese for smoother batter.
- Let cheesecake cool gradually to prevent cracking.
- For best results, chill overnight.
Nutrition
- Serving Size: 1 slice
- Calories: 450
- Sugar: 32g
- Sodium: 280mg
- Fat: 28g
- Saturated Fat: 16g
- Unsaturated Fat: 8g
- Trans Fat: 0g
- Carbohydrates: 42g
- Fiber: 1g
- Protein: 6g
- Cholesterol: 120mg