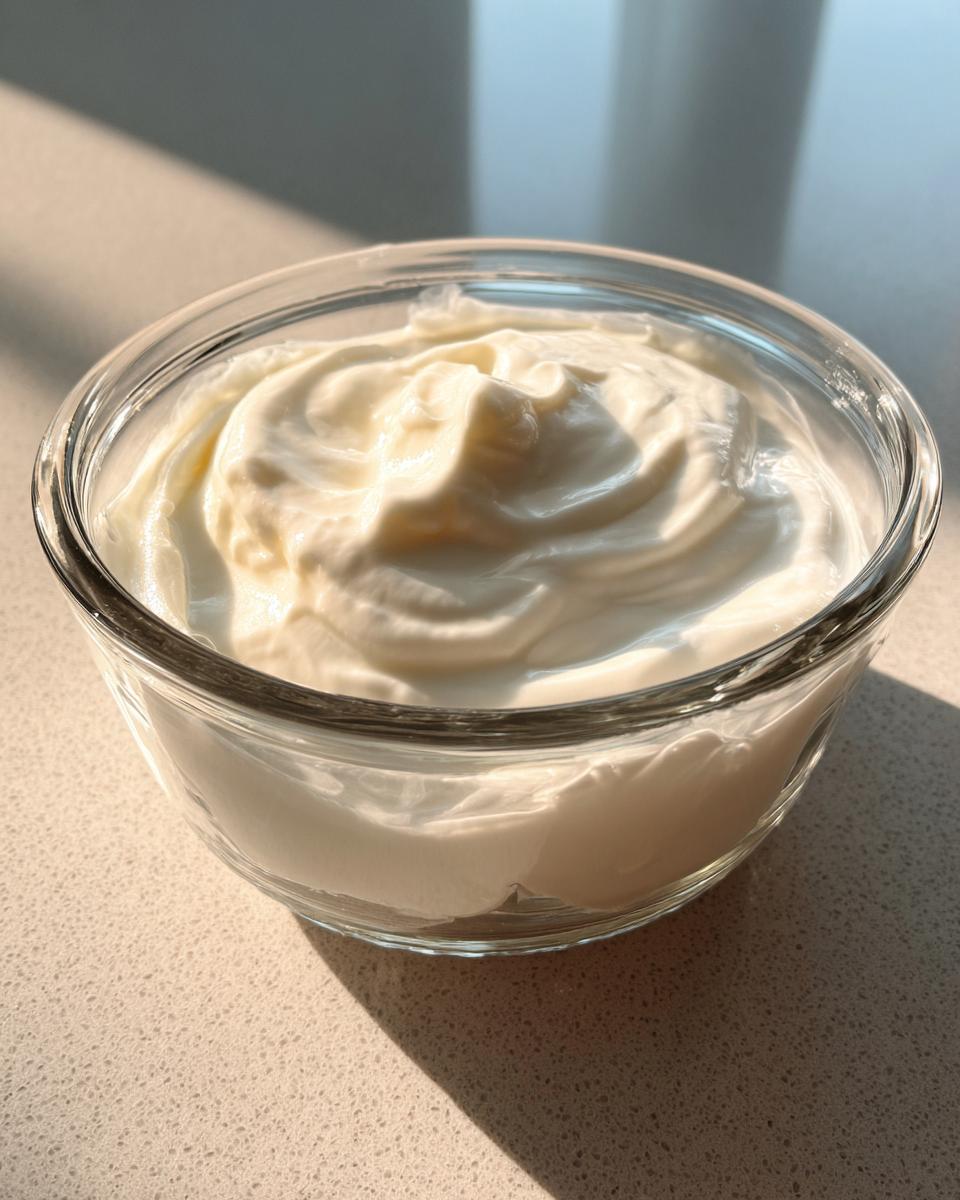
Let me tell you, making Instant Pot Greek yogurt at home is a game-changer. I used to spend way too much money on store-bought yogurt, until I discovered how easy it is to whip up my own thick, creamy batch right in my Instant Pot. This Instant Pot Greek Yogurt Recipe is so simple—just two ingredients and a little patience—but the results are seriously impressive. I’ve been making it weekly for months now, and it’s completely transformed my breakfast routine. Plus, there’s something so satisfying about knowing exactly what’s in your food. Trust me, once you try this, you’ll never go back to the store-bought stuff!
Why You’ll Love This Instant Pot Greek Yogurt Recipe
This Instant Pot Greek Yogurt Recipe is a total win for so many reasons:
- It’s ridiculously simple—just milk and a little yogurt starter, and your Instant Pot does the rest.
- It’s cost-effective, saving you money compared to store-bought yogurt.
- You get thick, creamy yogurt that’s way better than anything from the grocery store.
- It’s healthier because you control the ingredients—no weird additives or preservatives.
Once you try it, you’ll wonder why you didn’t start sooner!
Ingredients for Instant Pot Greek Yogurt Recipe
You only need two things to make this Instant Pot Greek Yogurt Recipe:
- 1/2 gallon whole milk – Fresh is best, and avoid ultra-pasteurized milk for the creamiest results.
- 2 tablespoons plain yogurt with live active cultures – This is your starter, so make sure it’s got those good bacteria!
That’s it—simple, right? Now let’s get cooking!
Equipment You’ll Need
Here’s what you’ll need to make this Instant Pot Greek Yogurt Recipe:
- Your Instant Pot – This is the star of the show, obviously!
- A thermometer – To make sure your milk cools to just the right temp (110°F is the sweet spot).
- Cheesecloth and a fine-mesh sieve – For straining and getting that dreamy Greek yogurt thickness.
- A whisk – Handy for mixing in the starter.
- Storage containers – Because you’ll want to keep every last spoonful!
That’s it—nothing fancy, just a few basics most home cooks already have on hand.
How to Make Instant Pot Greek Yogurt Recipe
Making Instant Pot Greek Yogurt is surprisingly simple, but there are a few key steps to get that perfect thick and creamy texture. Here’s how I do it:
Step 1: Boiling the Milk
First, pour your milk into the Instant Pot’s inner pot. Secure the lid, make sure the valve is set to sealing, and select the Yogurt function. Press “Adjust” until the display says “Boil.” This will heat the milk to just the right temperature to kill any unwanted bacteria. It usually takes about 45-60 minutes. When it’s done, your milk will be steaming and slightly frothy. Careful—it’s hot!
Step 2: Cooling and Adding the Starter
Once the milk is boiled, carefully remove the inner pot and let it cool to 110°F (43°C). I use a thermometer to check—this step is crucial! If it’s too hot, it’ll kill the good bacteria in your starter. Once it’s cooled, whisk in the plain yogurt starter until it’s fully combined. This is where the magic begins!
Step 3: Incubating the Yogurt
Return the inner pot to the Instant Pot, secure the lid, and select the Yogurt function again. This time, set it for 8 hours. This incubation period lets the good bacteria work their magic, turning the milk into yogurt. I usually do this overnight—it’s like waking up to a delicious surprise!
Step 4: Straining for Thickness
After incubation, your yogurt will be ready but still a bit thin. To get that classic Greek yogurt thickness, strain it through a cheesecloth-lined sieve for 1-2 hours. The longer you strain, the thicker it gets. Save the whey—it’s great for smoothies or baking!
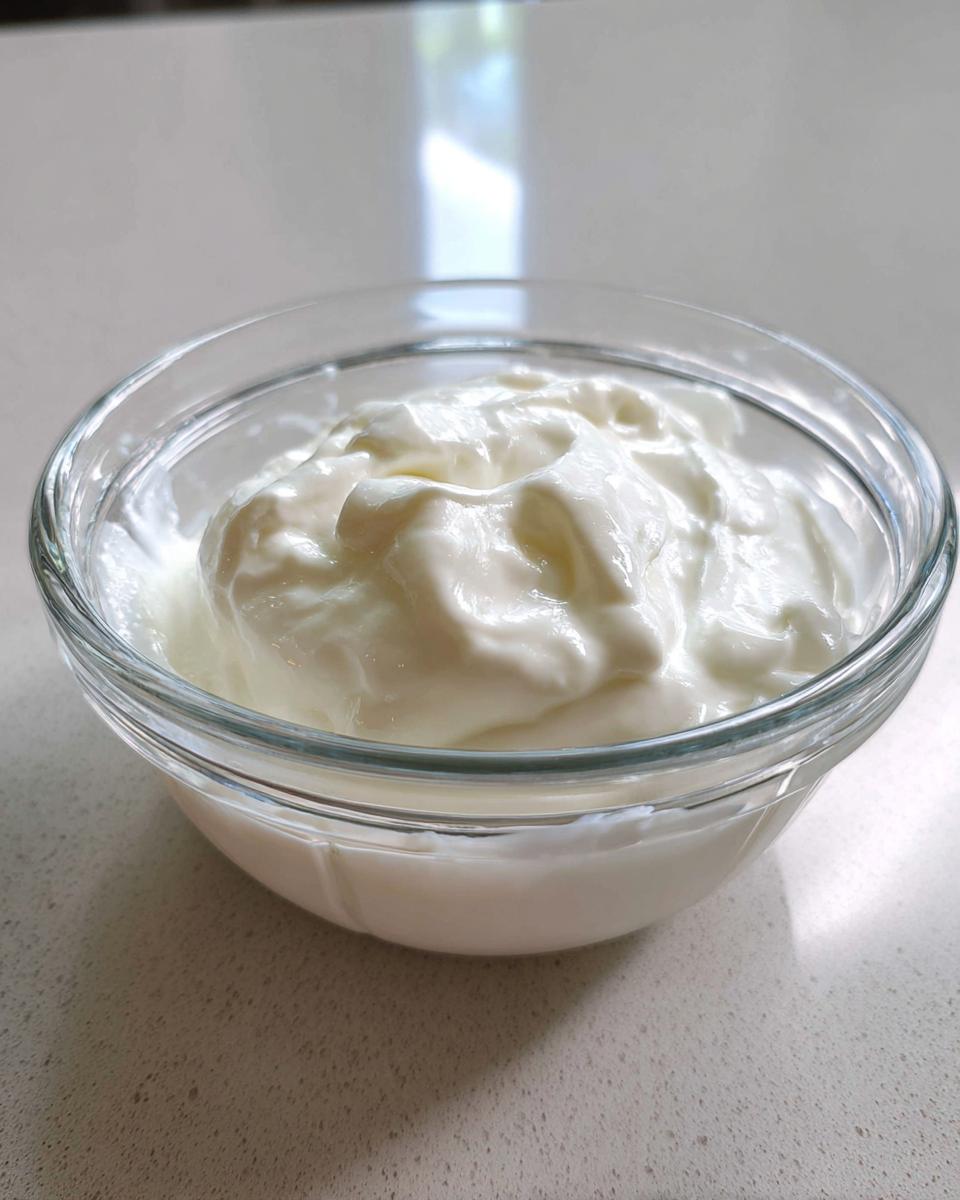
And that’s it! You’ve just made your own Instant Pot Greek Yogurt. It’s creamy, dreamy, and totally worth the wait.
Tips for Perfect Instant Pot Greek Yogurt
Want foolproof Instant Pot Greek Yogurt every time? Here are my best tips:
- Always use fresh milk – The better the milk, the creamier your yogurt will be.
- Skip ultra-pasteurized – It just doesn’t thicken as well.
- Check that temperature – 110°F is the sweet spot for the starter to work its magic.
- Don’t toss the whey! – Use it in smoothies or baking—it’s packed with protein.
Follow these, and you’ll have yogurt so good, you’ll ditch the store-bought stuff for good!
Variations for Your Instant Pot Greek Yogurt Recipe
Once you’ve mastered the basic Instant Pot Greek Yogurt Recipe, the fun begins! Here are my favorite ways to jazz it up:
- Sweeten it – Stir in honey, maple syrup, or a dash of vanilla extract for a touch of sweetness.
- Fruit it up – Fresh berries, mango, or a spoonful of jam make it irresistible.
- Go savory – Add garlic, cucumber, and dill for a quick tzatziki-style dip.
Mix and match—the possibilities are endless!
Serving Suggestions for Instant Pot Greek Yogurt
Oh, the ways you can enjoy this Instant Pot Greek Yogurt! My absolute favorite is layered with homemade granola and fresh berries—breakfast heaven. It’s also fantastic swirled into smoothies, dolloped on pancakes, or even as a creamy topping for spicy chili. Honestly, I eat it straight from the jar with a spoon most days!
Storage and Reheating Instructions
Once your Instant Pot Greek Yogurt is ready, just transfer it to an airtight container and pop it in the fridge. It’ll stay fresh and delicious for about 1-2 weeks. And don’t worry about reheating—this yogurt is meant to be enjoyed cold, straight from the fridge!
Nutritional Information for Instant Pot Greek Yogurt Recipe
Here’s the scoop on what’s in your homemade yogurt (per ½ cup serving): about 150 calories, 8g protein, and 12g natural sugars. It’s got 8g fat (if you use whole milk) and zero artificial junk. Keep in mind, these numbers can shift a bit depending on your milk’s fat content and how long you strain it. But hey—that’s the beauty of making it yourself, right? You control what goes in!

FAQ About Instant Pot Greek Yogurt Recipe
Got questions about making Instant Pot Greek Yogurt? I’ve got answers! Here are the ones I hear most often:
- Can I use low-fat milk? Sure, but whole milk gives the creamiest results. Low-fat will work, but your yogurt might be a bit thinner.
- How long does homemade yogurt last? About 1-2 weeks in the fridge—just keep it sealed tight!
- Why didn’t my yogurt thicken? Usually, it’s because the milk was too hot when you added the starter (remember—110°F!) or the starter cultures weren’t active.
- Can I reuse my homemade yogurt as a starter? Absolutely! Just save a couple tablespoons for your next batch.
- Do I really need to strain it? Only if you want that thick Greek yogurt texture. Unstrained is delicious too—just more like regular yogurt!
Still stumped? Drop me a comment—I’m happy to help troubleshoot!
PrintInstant Pot Greek Yogurt Recipe: Creamy Perfection in 2 Steps

A simple method for making thick and creamy Greek yogurt in your Instant Pot with just two ingredients.
- Prep Time: 15 minutes
- Cook Time: 1 hour
- Total Time: 14 hours 15 minutes
- Yield: 6 cups 1x
- Category: Breakfast
- Method: Pressure Cooking
- Cuisine: Greek
- Diet: Low Lactose
Ingredients
- 1/2 gallon whole milk
- 2 tablespoons plain yogurt with live active cultures
Instructions
- Pour milk into the Instant Pot inner pot.
- Secure the lid and set the valve to sealing.
- Select the Yogurt function and press Adjust until the display shows Boil.
- Allow the cycle to complete (about 45-60 minutes).
- Once boiled, carefully remove the inner pot and let the milk cool to 110°F (43°C).
- Whisk in the plain yogurt starter until fully combined.
- Return the inner pot to the Instant Pot and secure the lid.
- Select the Yogurt function again and adjust the time to 8 hours.
- After incubation, place the inner pot in the refrigerator to chill for at least 4 hours.
- Strain the yogurt through a cheesecloth-lined sieve for 1-2 hours to achieve desired thickness.
Notes
- Use the freshest milk possible for best results.
- Do not use ultra-pasteurized milk.
- The longer you strain, the thicker your yogurt will be.
- Save the whey drained from the yogurt for use in smoothies or baking.
Nutrition
- Serving Size: 1/2 cup
- Calories: 150
- Sugar: 12g
- Sodium: 105mg
- Fat: 8g
- Saturated Fat: 5g
- Unsaturated Fat: 2g
- Trans Fat: 0g
- Carbohydrates: 12g
- Fiber: 0g
- Protein: 8g
- Cholesterol: 25mg