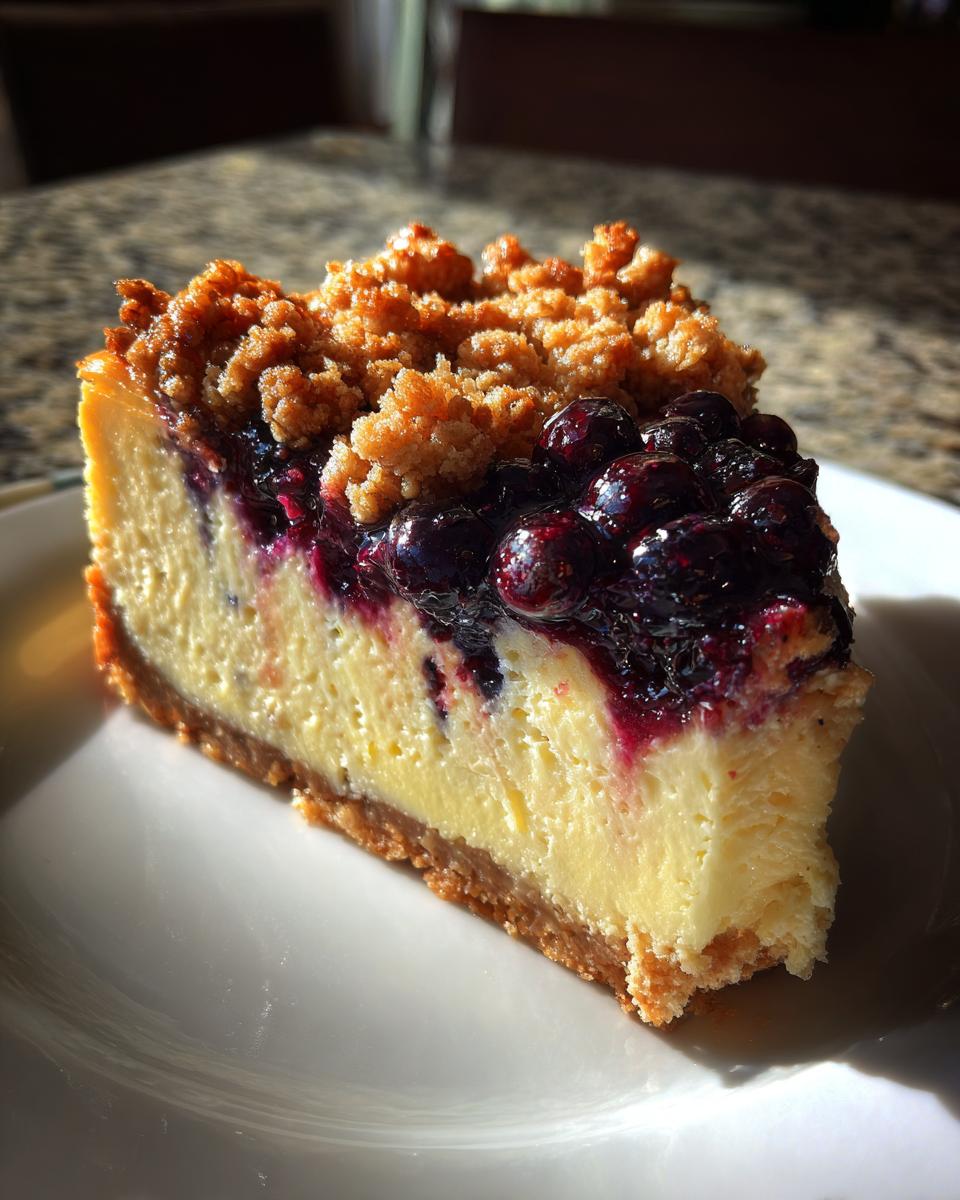
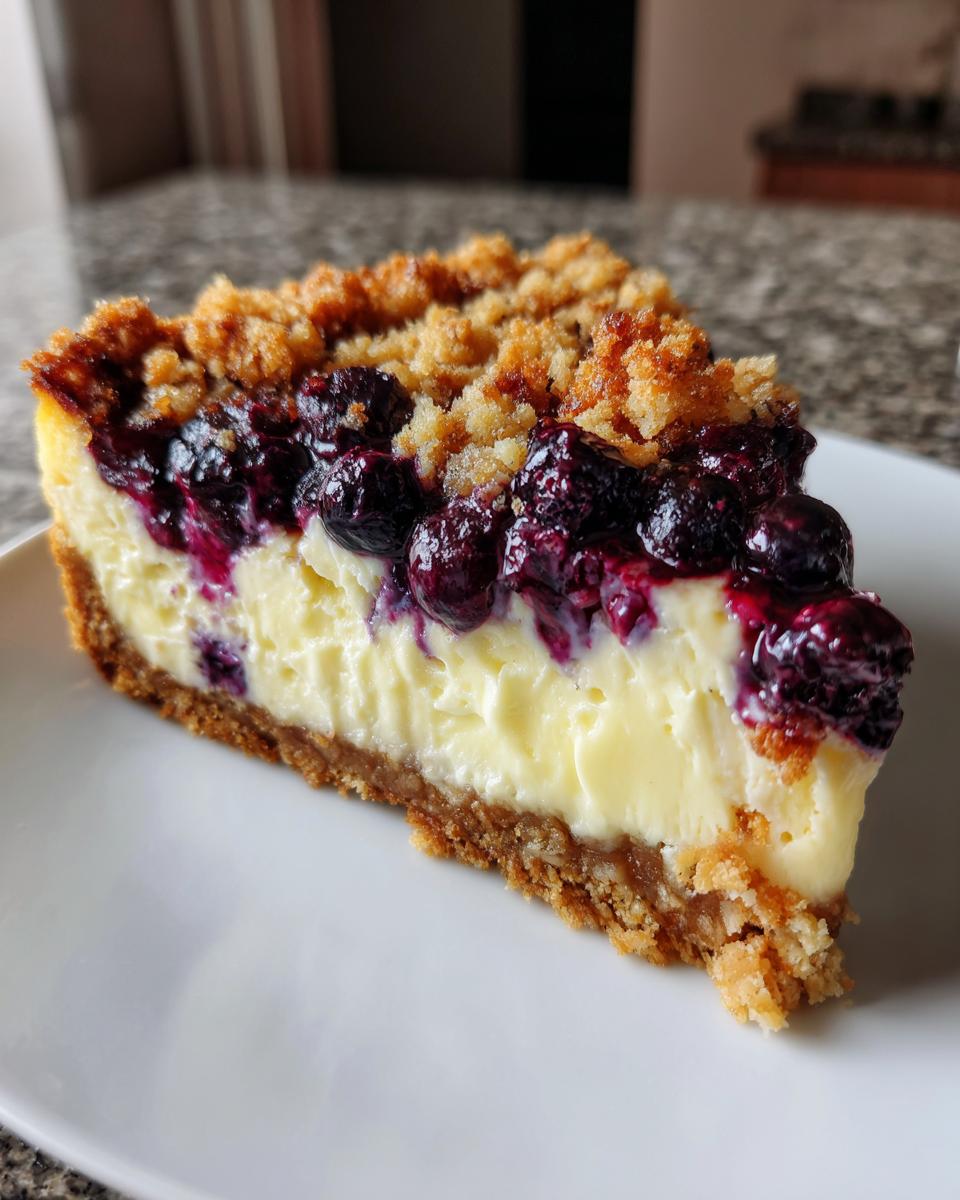
You know those desserts that look fancy but secretly couldn’t be easier? That’s my Effortless Blueberry Crumble Cheesecake in a nutshell. Creamy, dreamy cheesecake meets juicy blueberries and a buttery crumble topping—all with minimal fuss. I first made this for a last-minute dinner party years ago when I realized I’d forgotten to bake anything. One frantic fridge raid later (hello, cream cheese and blueberries!), and now it’s the dessert my friends request every time. The magic? That golden crumble layer bakes right into the cheesecake, so every bite has texture, tang, and just the right amount of sweetness. Trust me, it’s the kind of recipe that’ll make you look like a baking genius without breaking a sweat.
Why You’ll Love This Effortless Blueberry Crumble Cheesecake
Oh, where do I even start? This cheesecake is basically a hug in dessert form. Here’s why it’s about to become your new go-to:
- No water baths! Unlike fussy traditional cheesecakes, this one bakes up perfectly without any special setups.
- Texture heaven: Creamy filling, juicy berries, and that irresistible crumble topping create the most magical bite.
- Impressively easy: If you can mix ingredients and press crumbs into a pan, you’ve got this.
- Crowd-pleaser magic: I’ve served this to everyone from picky kids to fancy dinner guests—it always disappears fast!
Seriously, it’s the dessert that keeps giving—minimal effort, maximum deliciousness.
Ingredients for Effortless Blueberry Crumble Cheesecake
Okay, let’s gather our goodies! The beauty of this recipe is that you probably have most of these ingredients already. Here’s what you’ll need:
- For the crust:
- 200g digestive biscuits, crushed (about 14 biscuits – Graham crackers work too!)
- 100g unsalted butter, melted (that’s about 7 tbsp – and yes, it must be unsalted)
- For the cheesecake layer:
- 500g cream cheese, softened (take it out 2 hours before – trust me on this)
- 150g caster sugar (regular granulated works in a pinch)
- 2 large eggs (room temperature, please!)
- 1 tsp vanilla extract (the real stuff makes all the difference)
- For the blueberry crumble magic:
- 200g fresh blueberries (frozen work too – no need to thaw)
- 50g plain flour (all-purpose is fine)
- 30g rolled oats (not instant – we want texture!)
- 50g brown sugar (light or dark – I prefer dark for extra molasses flavor)
- 30g cold butter, cubed (straight from the fridge)
See? Nothing too fancy – just simple ingredients that come together beautifully. Now let’s get mixing!
Equipment You’ll Need
Don’t worry, you don’t need a fancy kitchen setup for this one. Here’s the shortlist of tools that’ll make this cheesecake a breeze:
- 20cm springform tin (the hero of cheesecakes—makes slicing so easy!)
- Mixing bowls (one for the crust, one for the filling, one for the crumble—yes, I’m messy!)
- Electric mixer (or a whisk and some elbow grease if you’re feeling old-school)
- Spatula (for scraping every last bit of that creamy filling)
- Measuring cups and spoons (precision is key, but don’t stress over exact grams)
That’s it! Simple tools for a seriously impressive dessert.
How to Make Effortless Blueberry Crumble Cheesecake
Alright, let’s do this! I promise it’s way easier than it looks. Just follow these simple steps, and you’ll have a showstopper dessert that looks like you spent hours on it (our little secret).
Step 1: Prepare the Crust
First things first—preheat that oven to 160°C (140°C if you’re using a fan oven). Now, grab your crushed digestive biscuits and pour in that melted butter. Mix it up until it looks like wet sand—you want every crumb coated. Dump it into your springform tin and press it down firmly with the back of a spoon or your fingers. Pro tip: go up the sides just a tiny bit to create a little wall for the filling. Pop it in the fridge to set while you make the magic happen.
Step 2: Make the Cheesecake Filling
Time for the creamy part! Beat the cream cheese and caster sugar together until it’s completely smooth—no lumps allowed! Crack in those eggs one at a time, mixing well after each (this keeps everything light and happy). Then, splash in that vanilla and give it one last mix. The filling should be silky and just pourable—if it’s too stiff, your cream cheese might’ve been too cold. Oops! No worries, just let it sit for 10 minutes.

Step 3: Add Blueberries and Crumble
Pour that gorgeous filling over your chilled crust—it should spread out nicely. Now, scatter those blueberries evenly over the top (frozen ones? Just toss them in straight from the freezer). For the crumble, rub the cold butter into the flour, oats, and brown sugar with your fingertips until it looks like coarse breadcrumbs. Sprinkle this heavenly mess over the blueberries—don’t press it down, let it stay nice and crumbly!
Step 4: Bake and Cool
Into the oven it goes for 40-45 minutes. You’ll know it’s done when the edges are set but the center still has a slight wobble (like Jell-O, not liquid). Turn off the oven, crack the door open, and let it cool slowly for about an hour inside. This prevents cracks—though if one appears, just cover it with more berries later! Then, transfer it to the fridge for at least 4 hours (overnight is even better). Patience, my friend—it’ll be worth it!
Tips for the Perfect Effortless Blueberry Crumble Cheesecake
Listen, I’ve made every cheesecake mistake so you don’t have to! Here are my golden rules:
- Room temp is key: Cold cream cheese = lumpy filling. Let it soften naturally—no microwaving!
- Gentle does it: Overmixing after adding eggs makes cracks. Just blend until combined.
- The wobble test: Your cheesecake’s done when the edges are set but the center jiggles slightly—like firm pudding.
- Cool slow: That hour in the turned-off oven prevents sinking. Worth the wait!
Bonus tip: Run a knife around the edge before chilling—it helps prevent those pesky cracks!
Variations and Substitutions
Oh, the possibilities! This recipe is like your favorite jeans—super adaptable. Here’s how to make it your own:
- Berry swap: Frozen blueberries work perfectly (no thawing needed!), or try raspberries or blackberries for a twist.
- Gluten-free?: Use gluten-free biscuits for the base—just check they’re the crispy kind, not cakey.
- Zesty upgrade: Add a teaspoon of lemon zest to the filling for a bright pop (my summer favorite!).
- Nutty crunch: Toss some chopped almonds or pecans into the crumble topping—heaven!
Just remember: juicier berries might make the crumble softer, but hey—still delicious!
Serving and Storing Effortless Blueberry Crumble Cheesecake
Here’s the best part—digging in! Serve this beauty chilled straight from the fridge (that 4-hour wait makes all the difference). I love topping slices with a few extra fresh blueberries and maybe a dusting of powdered sugar—it looks so pretty! If you’re feeling fancy, a dollop of whipped cream never hurt anyone. Leftovers? Just cover with cling film and they’ll keep happily in the fridge for up to 3 days (though good luck making it last that long!). No need to reheat—this cheesecake’s perfect cold with a cup of tea or coffee. Trust me, morning-after cheesecake for breakfast is absolutely a thing in my house!
Nutritional Information
Okay, full transparency—this is dessert, not health food! But for those curious, here’s a rough estimate per slice: about 380 calories, 25g fat (14g saturated), 35g carbs, and 6g protein. Remember, these numbers can vary based on your specific ingredients and how generously you slice it. So enjoy every bite without stressing over exact numbers!
Frequently Asked Questions
Can I use frozen blueberries? Absolutely! Frozen blueberries work just as well as fresh—no need to thaw them. Just scatter them straight from the freezer over the filling. They’ll bake up perfectly juicy!
How do I prevent cracks? The secret? Cool it slowly! After baking, turn off the oven and let the cheesecake sit inside with the door cracked for an hour. Also, avoid overmixing the filling after adding the eggs. A slight wobble in the center when it comes out of the oven is a good thing!
Can I make this ahead? Totally! This cheesecake actually tastes better the next day. Just bake it, let it cool, and chill it overnight. It’ll be perfectly set and ready to impress your guests.
Can I skip the crumble topping? Sure, but you’d be missing out on that amazing texture! If you’re in a pinch, just skip it and add extra blueberries. Still delicious, just a little simpler.
Share Your Effortless Blueberry Crumble Cheesecake
Made this cheesecake? I’d love to see your masterpiece! Tag me on Instagram with your crumbly-topped creations or leave a comment below—tell me how it turned out! Your feedback makes my day and helps other bakers too. Happy baking!
PrintEffortless Blueberry Crumble Cheesecake in Just 5 Easy Steps
A simple and delicious blueberry crumble cheesecake that combines creamy cheesecake with a sweet blueberry topping and a buttery crumble crust.
- Prep Time: 20 minutes
- Cook Time: 45 minutes
- Total Time: 1 hour 5 minutes
- Yield: 8 servings 1x
- Category: Dessert
- Method: Baking
- Cuisine: American
- Diet: Vegetarian
Ingredients
- 200g digestive biscuits, crushed
- 100g unsalted butter, melted
- 500g cream cheese, softened
- 150g caster sugar
- 2 large eggs
- 1 tsp vanilla extract
- 200g fresh blueberries
- 50g plain flour
- 30g rolled oats
- 50g brown sugar
- 30g cold butter, cubed
Instructions
- Preheat your oven to 160°C (140°C fan).
- Mix crushed biscuits with melted butter and press into the base of a 20cm springform tin.
- Beat cream cheese and caster sugar until smooth. Add eggs one at a time, then stir in vanilla.
- Pour the cheesecake mixture over the biscuit base.
- Scatter blueberries evenly over the cheesecake.
- Combine flour, oats, brown sugar, and cold butter to make the crumble. Sprinkle over the blueberries.
- Bake for 40-45 minutes until set. Cool completely before serving.
Notes
- Chill the cheesecake for at least 4 hours before serving.
- Use frozen blueberries if fresh ones are not available.
- Store leftovers in the fridge for up to 3 days.
Nutrition
- Serving Size: 1 slice
- Calories: 380
- Sugar: 25g
- Sodium: 220mg
- Fat: 25g
- Saturated Fat: 14g
- Unsaturated Fat: 8g
- Trans Fat: 0.5g
- Carbohydrates: 35g
- Fiber: 2g
- Protein: 6g
- Cholesterol: 95mg