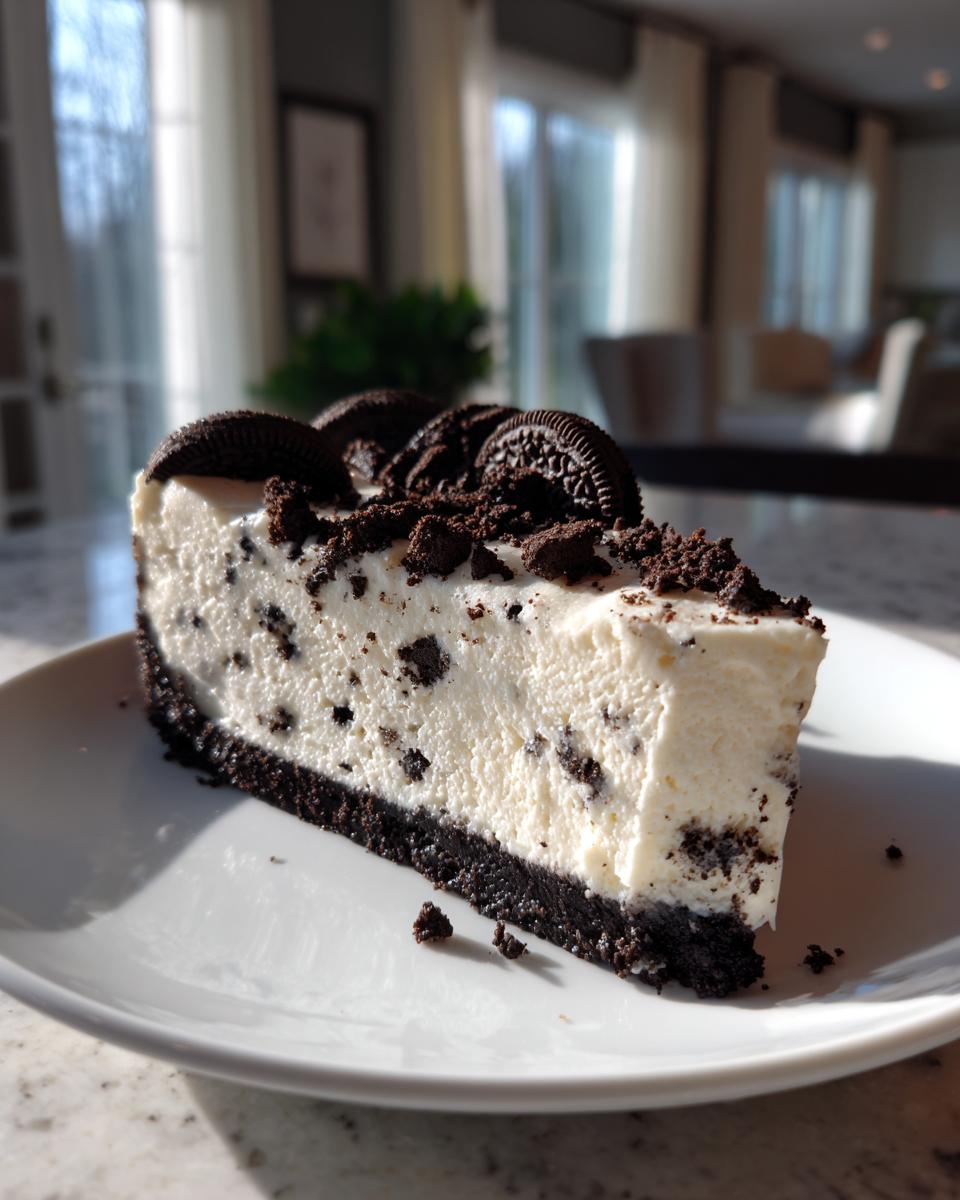
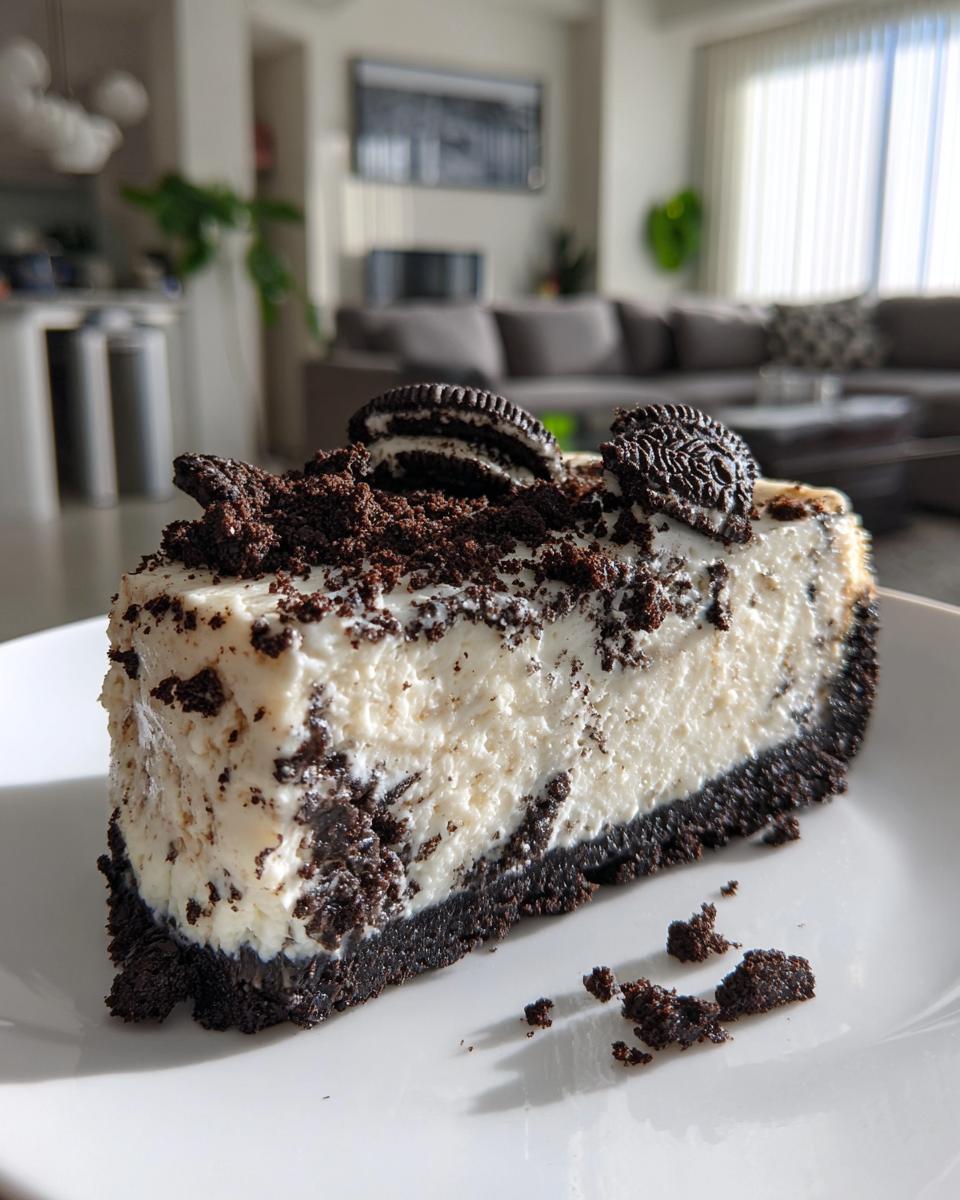
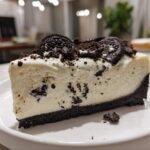
Let me tell you about my absolute favorite lifesaver dessert – this Delicious No-Bake Oreo Cheesecake! It’s the perfect marriage of crunchy Oreo crust and velvety smooth cheesecake filling that’ll make you swoon. The best part? No oven required, just some simple mixing and chilling. I can’t count how many times this recipe has saved me when unexpected guests show up or when my sweet tooth demands instant satisfaction. That rich, creamy texture with little bursts of chocolatey Oreo bits? Pure magic. Trust me, once you try this no-bake wonder, you’ll never go back to complicated cheesecake recipes again!
Why You’ll Love This Delicious No-Bake Oreo Cheesecake
Oh my goodness, where do I even start? This cheesecake checks ALL the boxes:
- Crazy easy – seriously, if you can mix things together, you’ve got this
- Ready in about 20 minutes of hands-on time (then just walk away while it chills!)
- No oven means no sweating over a hot stove
- That perfect balance of rich cream cheese and chocolatey Oreo goodness
- Creamy dreamy texture that melts right in your mouth
It’s basically dessert magic – impressively fancy looking but secretly simple as can be!
Ingredients for Delicious No-Bake Oreo Cheesecake
Gathering the right ingredients is half the battle with this recipe – and luckily, they’re all simple pantry staples! Here’s what you’ll need to create that perfect Oreo-cheesecake harmony:
- 24 Oreo cookies (for the crust – and yes, we’re using the whole cookie, cream filling and all!)
- 4 tablespoons unsalted butter, melted (this is what gives our crust that perfect crisp texture)
- 16 ounces cream cheese, softened to room temperature (this is CRUCIAL – cold cream cheese will leave you with lumpy filling, and we don’t want that!)
- 1 cup powdered sugar (trust me, it dissolves better than granulated sugar in no-bake recipes)
- 1 teaspoon pure vanilla extract (the good stuff makes all the difference)
- 1 cup heavy cream (also called heavy whipping cream – we’re whipping this to stiff peaks)
- 12 Oreo cookies, crushed (these get folded into the filling for those wonderful chocolatey surprises)
A quick note about the Oreos – you’ll use some whole for the crust and some crushed for the filling. I like to keep the filling pieces chunky (about quarter-sized) for maximum texture, but you can crush them finer if you prefer. And if you’re feeling fancy, you can always save a few extra cookies for decoration on top!
How to Make Delicious No-Bake Oreo Cheesecake
Okay, let’s dive into the fun part – making this heavenly dessert! Don’t let the layers intimidate you; each step is super simple. I’ll walk you through exactly what to do, just like I’m right there in the kitchen with you. The secret is taking it one step at a time and not rushing the process. Before you know it, you’ll have a showstopper dessert that looks like you spent hours on it!
Step 1: Prepare the Oreo Crust
First things first – that irresistible Oreo crust! Grab your 24 Oreos (no need to remove the cream – it actually helps bind the crust) and crush them into fine crumbs. My favorite trick? Throw them in a food processor and pulse until they look like dark sand. No processor? No problem! Just pop them in a ziplock bag and roll with a rolling pin until crushed (great for stress relief too!).
Mix those beautiful black crumbs with the melted butter – you’ll know it’s perfect when the mixture holds together when pinched. Then press it firmly into your springform pan, making sure to go up the sides just a bit. I like using the bottom of a glass to really pack it in tight. Pop this in the fridge while you make the filling – it helps the crust set up nicely.
Step 2: Make the Cheesecake Filling
Now for the creamy heart of our cheesecake! Make sure your cream cheese is truly at room temperature – I leave mine out for at least an hour before starting. Trust me, this makes all the difference in getting that silky smooth texture we want. Beat the cream cheese in a large bowl until it’s completely smooth – no lumps allowed! This might take 2-3 minutes with a hand mixer.
Add in the powdered sugar and vanilla, beating again until everything is perfectly combined and fluffy. At this point, I always sneak a little taste (quality control, you know!). The mixture should be smooth as silk – if you see any lumps, keep beating until they disappear. Set this aside while we tackle the whipped cream.
Step 3: Whip the Cream
Here’s where the magic really happens! Pour your cold heavy cream into a clean, chilled bowl (I pop mine in the freezer for 10 minutes first). Using a hand mixer or stand mixer, whip the cream on medium-high speed until stiff peaks form. You’ll know it’s ready when you can turn the bowl upside down without the cream moving (but maybe don’t actually try that!).
Now for the gentle part – take your crushed Oreos and fold them into the cream cheese mixture first. Then, add about a third of the whipped cream and fold gently to lighten the mixture. Finally, add the remaining whipped cream, folding with a spatula in broad, gentle strokes until no white streaks remain. This keeps our filling light and airy!
Step 4: Assemble and Chill
Time to bring it all together! Take your chilled crust from the fridge and pour in the luscious filling. Use an offset spatula or the back of a spoon to smooth the top – don’t worry about making it perfect, those little swirls look charming. Here’s the hardest part: patience! This beauty needs at least 4 hours in the fridge to set properly, though overnight is even better.
The wait is absolutely worth it – the filling firms up to that perfect sliceable texture while staying creamy and dreamy. When you’re ready to serve, run a thin knife around the edge before releasing the springform pan sides. Top with extra Oreo crumbs or whipped cream if you’re feeling fancy, then watch it disappear!
Tips for Perfect Delicious No-Bake Oreo Cheesecake
After making this cheesecake more times than I can count, here are my foolproof secrets for absolute perfection:
- Room temp is KEY – Cold cream cheese = lumpy filling. Let it soften completely!
- Chill your bowl before whipping cream – it helps the peaks form faster and stay stiffer
- Fold gently when combining ingredients to keep that light, airy texture
- Press crust firmly – Use a glass to really pack it in so it holds together when sliced
- Overnight chilling is ideal – The longer it sets, the cleaner your slices will be
And my bonus tip? Always save a few extra Oreos to crumble on top right before serving – that crunch is everything!
Ingredient Substitutions & Variations
Listen, I know sometimes you gotta work with what you’ve got – or maybe you’re feeling adventurous! Here are my favorite swaps and twists that still give you amazing results:
- Gluten-free? No problem! Use gluten-free chocolate sandwich cookies instead of Oreos. Just check they’ve got that creamy center for proper crust texture.
- Lightening it up? Reduced-fat cream cheese works okay, but the filling won’t be quite as rich or firm. For best texture, maybe do half regular, half reduced-fat.
- Out of heavy cream? Frozen whipped topping (like Cool Whip) can sub in for the whipped cream – use about 2 cups thawed. The texture will be slightly less velvety though.
- Extra chocolatey? Add 1/4 cup cocoa powder to the filling mix or drizzle melted chocolate on top before chilling. Because… chocolate!
- Different cookie flavors? Mint Oreos make an awesome holiday version. Golden Oreos give a vanilla twist. Get creative!
Just remember – every change affects the final texture a bit. More liquid ingredients may require longer chilling. But half the fun is making it your own!
Serving and Storing Delicious No-Bake Oreo Cheesecake
Oh, the moment we’ve all been waiting for – serving this beauty! I always take mine straight from the fridge (no need to let it sit out) because that cool, creamy texture is just perfection. For extra pizzazz, I love topping slices with a dollop of fresh whipped cream and a sprinkle of Oreo crumbs. Fresh berries like raspberries or strawberries add a lovely pop of color and tartness that balances the sweetness beautifully.
When it comes to leftovers (if you’re lucky enough to have any!), here’s how to keep them tasting fresh:
- Always store in the fridge with a tight cover or plastic wrap pressed directly on the surface
- It’ll keep beautifully for 3 days – though let’s be real, it never lasts that long in my house!
- For clean slices, wipe your knife between cuts with a warm, damp cloth
One important note – I don’t recommend freezing this cheesecake. The texture changes and becomes a bit grainy when thawed. But hey, that just means you’ve got a great excuse to eat it all fresh, right? Not that I need much convincing when it comes to this dreamy dessert!
Nutritional Information for Delicious No-Bake Oreo Cheesecake
Okay friends, let’s talk numbers – because I know some of you (unlike me!) actually check these things before diving face-first into dessert! Here’s the scoop on what you’re getting per generous slice:
- Calories: About 450 (hey, it’s cheesecake – no one said it was a salad!)
- Fat: 30g (this is where all that creamy goodness comes from)
- Saturated Fat: 18g (mostly from the cream cheese and butter)
- Carbohydrates: 40g (thank those delicious Oreos)
- Sugar: 35g (it’s dessert, what did you expect?)
- Protein: 5g (surprise! There’s actually some protein in there)
Now here’s my little disclaimer – these numbers can vary based on the exact ingredients you use. Different brands of Oreos might have slightly different nutrition facts, and if you use reduced-fat cream cheese or swap ingredients, that’ll change things too. But let’s be real – when you’re eating Oreo cheesecake, you’re not exactly counting macros! Just enjoy every decadent bite.
Frequently Asked Questions
Can I use frozen whipped topping instead of fresh whipped cream?
Yes! Thawed frozen whipped topping (like Cool Whip) works in a pinch, but fresh whipped cream gives better texture and flavor.
How do I prevent a soggy crust?
Press the crust firmly and chill it before adding filling. Also, make sure your butter is fully melted to coat all the cookie crumbs evenly.
Can I make this ahead of time?
Absolutely! It actually tastes better after chilling overnight. Just cover it well to prevent absorbing fridge odors.
Why is my filling lumpy?
Your cream cheese wasn’t soft enough. Always let it sit at room temperature for at least an hour before mixing.
Can I freeze this cheesecake?
I don’t recommend it – the texture changes and becomes grainy when thawed. It’s best enjoyed fresh from the fridge!
Irresistible No-Bake Oreo Cheesecake in 20 Minutes
A quick and easy no-bake dessert that combines the rich flavor of Oreo cookies with creamy cheesecake.
- Prep Time: 20 minutes
- Cook Time: 0 minutes
- Total Time: 4 hours 20 minutes
- Yield: 8 servings 1x
- Category: Dessert
- Method: No-Bake
- Cuisine: American
- Diet: Vegetarian
Ingredients
- 24 Oreo cookies
- 4 tbsp unsalted butter, melted
- 16 oz cream cheese, softened
- 1 cup powdered sugar
- 1 tsp vanilla extract
- 1 cup heavy cream
- 12 Oreo cookies, crushed
Instructions
- Crush 24 Oreo cookies and mix with melted butter. Press into the bottom of a springform pan.
- In a bowl, beat cream cheese, powdered sugar, and vanilla until smooth.
- In a separate bowl, whip heavy cream until stiff peaks form.
- Fold whipped cream and crushed Oreos into cream cheese mixture.
- Spread the mixture over the crust in the pan. Refrigerate for at least 4 hours before serving.
Notes
- Use a food processor for easier cookie crushing.
- For a firmer cheesecake, refrigerate overnight.
Nutrition
- Serving Size: 1 slice
- Calories: 450
- Sugar: 35g
- Sodium: 300mg
- Fat: 30g
- Saturated Fat: 18g
- Unsaturated Fat: 9g
- Trans Fat: 0g
- Carbohydrates: 40g
- Fiber: 1g
- Protein: 5g
- Cholesterol: 80mg