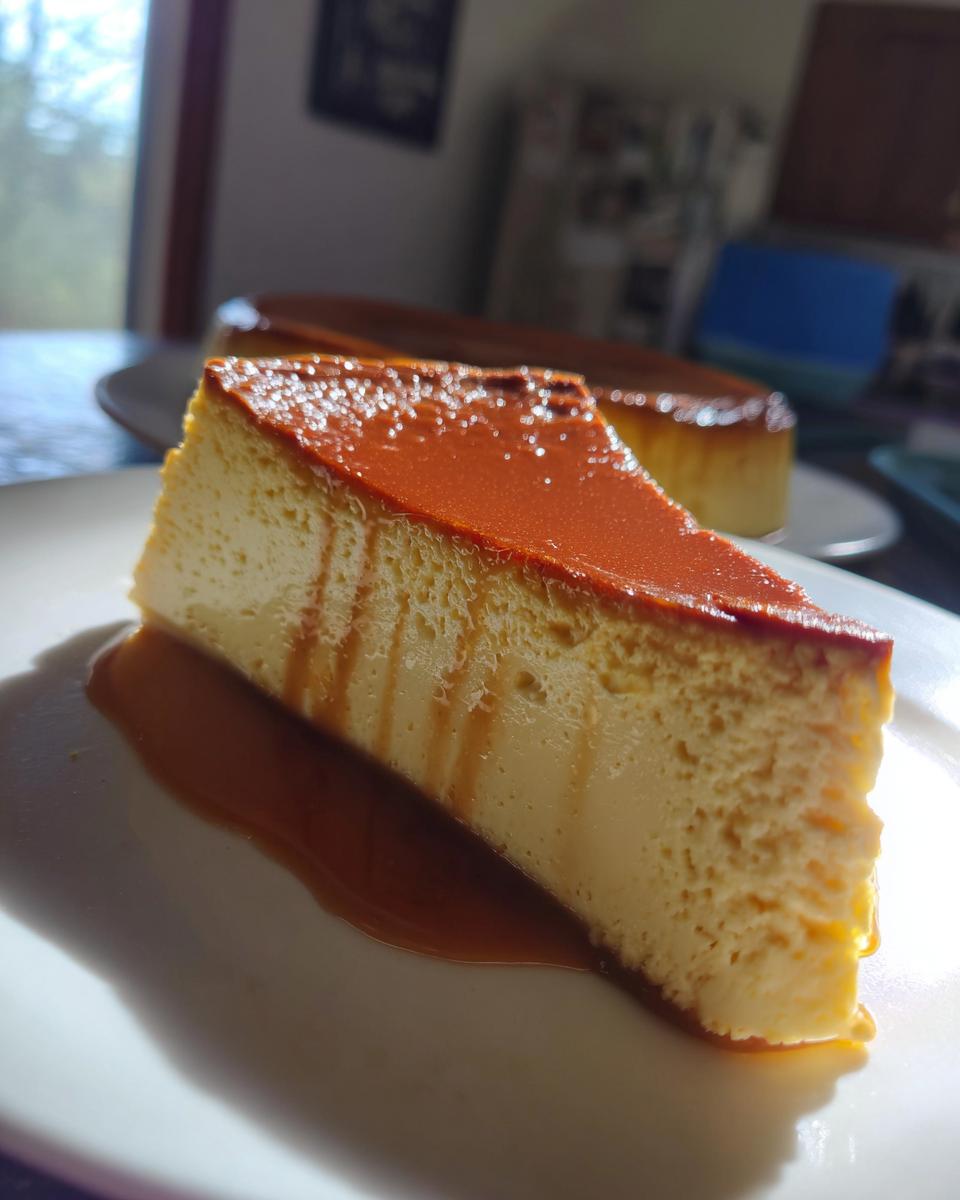
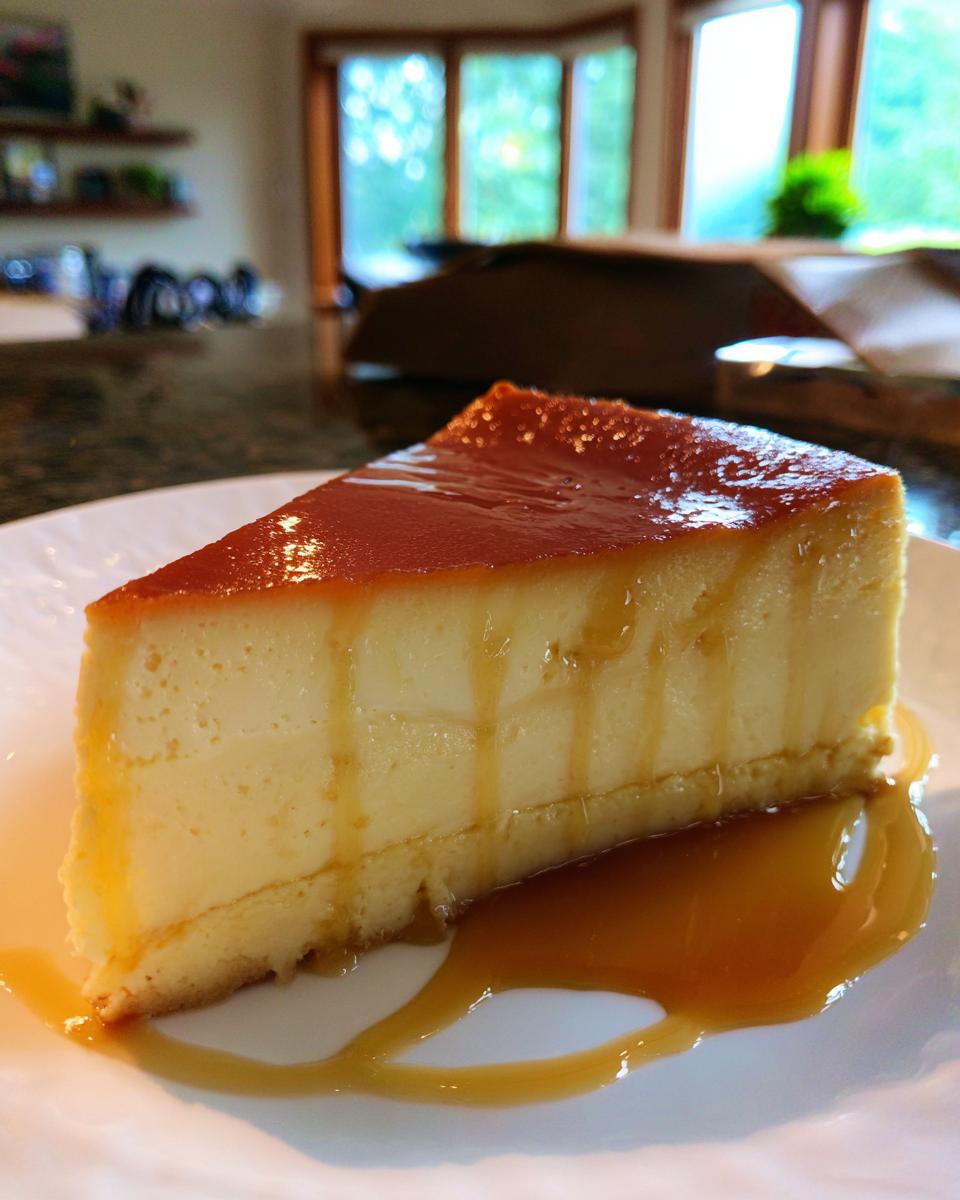
Okay, let me tell you about the first time I tried cheesecake flan – it was pure magic! I’d been flipping through an old cookbook at my aunt’s house when this recipe caught my eye. “Cheesecake… and flan? Together?” I remember thinking it sounded too good to be true. But trust me, this dessert is the real deal – the velvety richness of cheesecake meets the smooth, custardy perfection of flan, all draped in that gorgeous caramel glaze. I’ve been obsessed ever since.
What I love most (besides how ridiculously delicious it is) is how it surprises people. Serve this at a dinner party, and watch eyebrows shoot up when you invert that pan – that glossy caramel cascading down the sides gets every time. My neighbor still talks about the batch I brought over last Christmas, and now her kids beg me to make it for their birthdays. It’s that kind of dessert – the one people remember.
The best part? It’s way easier than you’d think. No fancy techniques, just a few simple steps between you and what might become your new signature dessert. Let’s dive in!
Why You’ll Love This Cheesecake Flan Recipe
Oh, where do I even start with why this cheesecake flan is absolute perfection? First off – that texture! It’s like biting into a cloud that decided to dress up in caramel pajamas. The cream cheese gives it this luxurious richness, while the flan keeps everything impossibly smooth and silky.
Here’s why you’ll be obsessed:
- Foolproof fancy: Looks like you slaved away, but honestly? Just blend, bake, and boom – dessert magic.
- Crowd pleaser: That dramatic caramel unveiling when you invert it? Guaranteed gasps every time.
- Make-ahead dream: Tastes even better after chilling overnight (if you can resist eating it immediately).
Seriously, this cheesecake flan is the dessert equivalent of wearing pajamas that look like a ballgown – all the comfort with none of the effort!
Ingredients for Cheesecake Flan
Gather these simple ingredients – that’s all you need for this showstopper! I promise, every single one plays a special role in creating that perfect texture and flavor. And don’t worry, I’ll explain why each one matters so much.
- 1 cup sugar (for the caramel – plain white sugar works best here)
- 8 oz cream cheese (must be full-fat and softened – I leave mine out for 2 hours)
- 4 large eggs (room temperature eggs blend smoother – take them out with the cream cheese)
- 1 can (14 oz) sweetened condensed milk (that iconic yellow can – don’t swap for evaporated here!)
- 1 can (12 oz) evaporated milk (different from condensed – look for the red and white can)
- 1 tsp vanilla extract (pure vanilla makes all the difference – but imitation works in a pinch)
Ingredient Notes & Substitutions
Okay, let’s talk swaps and why some things are non-negotiable! First – that water bath? Not optional if you want that signature silky texture (trust me, I learned the hard way). For dairy swaps: coconut milk can replace evaporated milk for a tropical twist, but the texture changes slightly. Need it less sweet? Reduce condensed milk by 1/4 cup max – any more and the structure suffers. And please, oh please, don’t use cream cheese straight from the fridge – those little lumps will haunt your otherwise perfect flan!
Equipment You’ll Need
Alright, let’s talk tools – and don’t worry, you probably already have everything! Here’s my must-have list:
- A trusty 9-inch round baking dish (I use my grandma’s old Pyrex)
- A blender (your basic $20 one works perfectly)
- A medium saucepan for that caramel magic
- A large roasting pan for the water bath (any deep pan will do)
That’s it! No fancy gadgets required – just good old kitchen basics.
How to Make Cheesecake Flan Step-by-Step
Okay, let’s get to the fun part – making this magical dessert! I’ll walk you through each step like I’m right there in the kitchen with you. Don’t worry if you’re nervous about the caramel or water bath – I’ve got all the tips to make this foolproof!
Preparing the Caramel Layer
First up: that gorgeous caramel! Melt your sugar in a dry saucepan over medium heat – no water needed! Resist stirring too much; just swirl the pan occasionally. In about 5-7 minutes, it’ll go from grainy to molten gold to a perfect amber color. When it smells like toasted marshmallows and looks like liquid sunshine, immediately pour it into your baking dish (careful – it’s crazy hot!). Tilt to coat the bottom evenly before it sets. Pro tip: work fast but don’t panic if it hardens quickly – that’s exactly what we want!
Blending the Cheesecake Flan Mixture
Now for the creamy part! Blend your softened cream cheese first until completely smooth – no lumps allowed! Then add eggs one at a time, blending after each. This slow addition prevents curdling. Next goes the condensed milk (yes, the whole can!), evaporated milk, and vanilla. Blend for a full minute until it’s silky and uniform. You’ll know it’s ready when it looks like a thick milkshake and coats the back of a spoon. If you see tiny flecks of cream cheese, blend another 30 seconds – patience pays off here!
Baking with a Water Bath
Here’s the secret to perfect cheesecake flan: the water bath! Place your caramel-coated dish in a roasting pan, then pour in the cream mixture. Now, carefully add hot water to the roasting pan until it comes halfway up the sides of your baking dish. This creates gentle, even heat that prevents cracks and ensures creamy texture. Bake at 350°F for 50-60 minutes. It’s done when the edges are set but the center still jiggles slightly – like firm Jell-O. If it’s sloshy, give it 5 more minutes.
Chilling and Serving
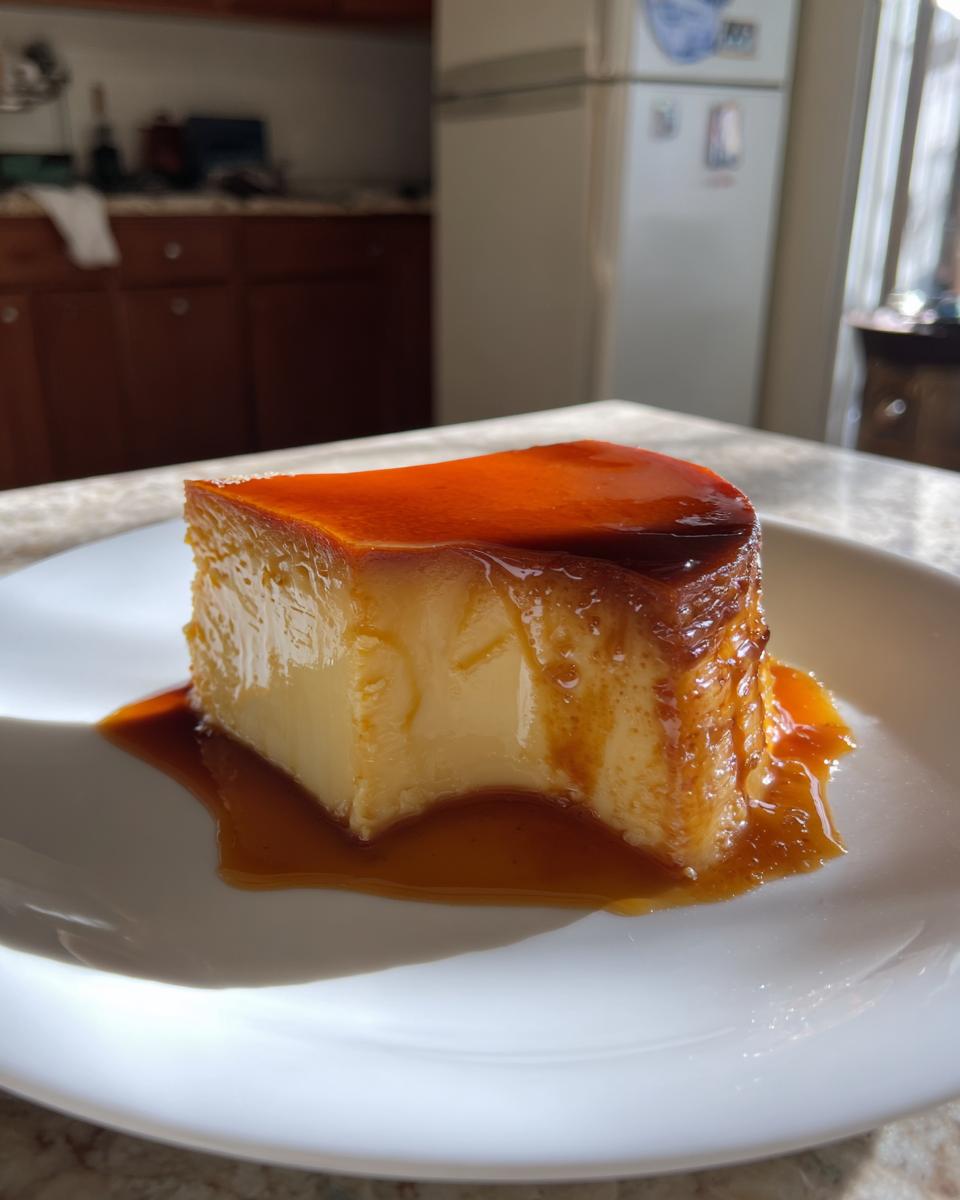
Patience, my friend! Let the flan cool completely at room temperature (about 1 hour), then refrigerate for at least 4 hours – overnight is even better! When ready to serve, run a thin knife around the edges. Place your serving plate upside down over the dish, then flip with confidence! Give it a gentle shake if needed – that beautiful caramel will cascade down like edible lava. Pro tip: pat the plate dry first so caramel doesn’t make a watery puddle. Now slice, admire your masterpiece, and prepare for compliments!
Tips for Perfect Cheesecake Flan
After making this cheesecake flan more times than I can count, I’ve learned all the little tricks for absolute perfection. First, don’t overmix after adding the eggs – blend just until combined to keep that dreamy texture. When testing doneness, your knife should come out with moist crumbs, not liquid – think “set pudding” not “firm cake.” And here’s my best tip: right before inverting, pat the serving plate bone-dry with a towel. That way, your gorgeous caramel won’t get diluted with water droplets. Oh, and if your caramel hardens too fast? Just warm the bottom of the dish briefly in hot water to loosen it!
Storage & Reheating Instructions
Here’s the beautiful thing about cheesecake flan – it actually gets better after a day in the fridge! Just cover it tightly with plastic wrap (press it right against the surface to prevent skin) and it’ll keep beautifully for up to 3 days. Now, I know some folks ask about freezing – but trust me, the texture turns grainy and sad. For serving leftovers, let slices sit at room temp for 15 minutes to take off the fridge chill. No reheating needed – this beauty shines cold!
Cheesecake Flan Variations
Oh, the fun you can have with this recipe once you’ve mastered the basics! My favorite twist? Adding a big pinch of orange zest to the batter – it cuts through the richness and makes the whole thing taste like a Creamsicle dream. For a nutty vibe, swap vanilla for almond extract (just 1/2 teaspoon – it’s potent!). Feeling fancy? Arrange fresh raspberries in the caramel layer before adding the batter – they’ll turn into jewel-toned surprises when you invert it. And here’s my secret brunch move: drizzle slices with cold brew coffee instead of extra caramel. Trust me, it’s life-changing!
Nutrition Information
Okay, let’s be real – we’re not eating cheesecake flan because it’s a health food! But if you’re curious, this dessert is rich in calcium from all that dairy goodness. Keep in mind that nutrition values can change based on your exact ingredients and brands. A little slice goes a long way because it’s so decadently satisfying – but hey, no judgment if you go back for seconds (I always do!).
Frequently Asked Questions
Can I make cheesecake flan without a water bath?
Oh honey, I wish! But that water bath is non-negotiable for that signature silky texture. I tried skipping it once (because, lazy), and ended up with a cracked, rubbery mess. The steam from the water bath creates gentle, even heat that prevents curdling and keeps everything dreamy smooth. Think of it like a spa day for your flan!
Why did my caramel turn out rock hard?
This happens when the sugar gets too hot or cooks too long. You want that beautiful amber color, but take it off the heat the moment it smells like toasted marshmallows. If it does harden too much, don’t panic! The moisture from the flan will soften it as it chills. Next time, try swirling the pan instead of stirring – it gives you more control.
Can I use low-fat cream cheese?
Technically yes, but your cheesecake flan won’t have that luscious mouthfeel we’re after. Full-fat cream cheese gives that perfect rich-yet-light texture. If you must use low-fat, maybe add an extra egg yolk to compensate – but trust me, this is one dessert worth the splurge!
Creamy Cheesecake Flan Recipe That Melts Hearts in 5 Steps

A creamy and delicious fusion dessert combining the richness of cheesecake with the smooth texture of flan.
- Prep Time: 15 mins
- Cook Time: 60 mins
- Total Time: 4 hrs 15 mins
- Yield: 8 servings 1x
- Category: Dessert
- Method: Baked
- Cuisine: Fusion
- Diet: Vegetarian
Ingredients
- 1 cup sugar (for caramel)
- 8 oz cream cheese (softened)
- 4 large eggs
- 1 can (14 oz) sweetened condensed milk
- 1 can (12 oz) evaporated milk
- 1 tsp vanilla extract
Instructions
- Preheat oven to 350°F (175°C).
- Melt sugar in a saucepan over medium heat until golden brown to make caramel. Pour into a 9-inch round baking dish.
- Blend cream cheese until smooth. Add eggs one at a time, then condensed milk, evaporated milk, and vanilla.
- Pour mixture over caramel in the baking dish.
- Place dish in a larger pan filled with hot water (water bath).
- Bake for 50-60 minutes until set.
- Cool, then refrigerate for at least 4 hours.
- Invert onto a plate before serving.
Notes
- Use room temperature ingredients for smoother blending.
- Water bath prevents cracking.
- Chill thoroughly for best results.
Nutrition
- Serving Size: 1 slice
- Calories: 320
- Sugar: 28g
- Sodium: 180mg
- Fat: 14g
- Saturated Fat: 8g
- Unsaturated Fat: 5g
- Trans Fat: 0g
- Carbohydrates: 40g
- Fiber: 0g
- Protein: 7g
- Cholesterol: 120mg