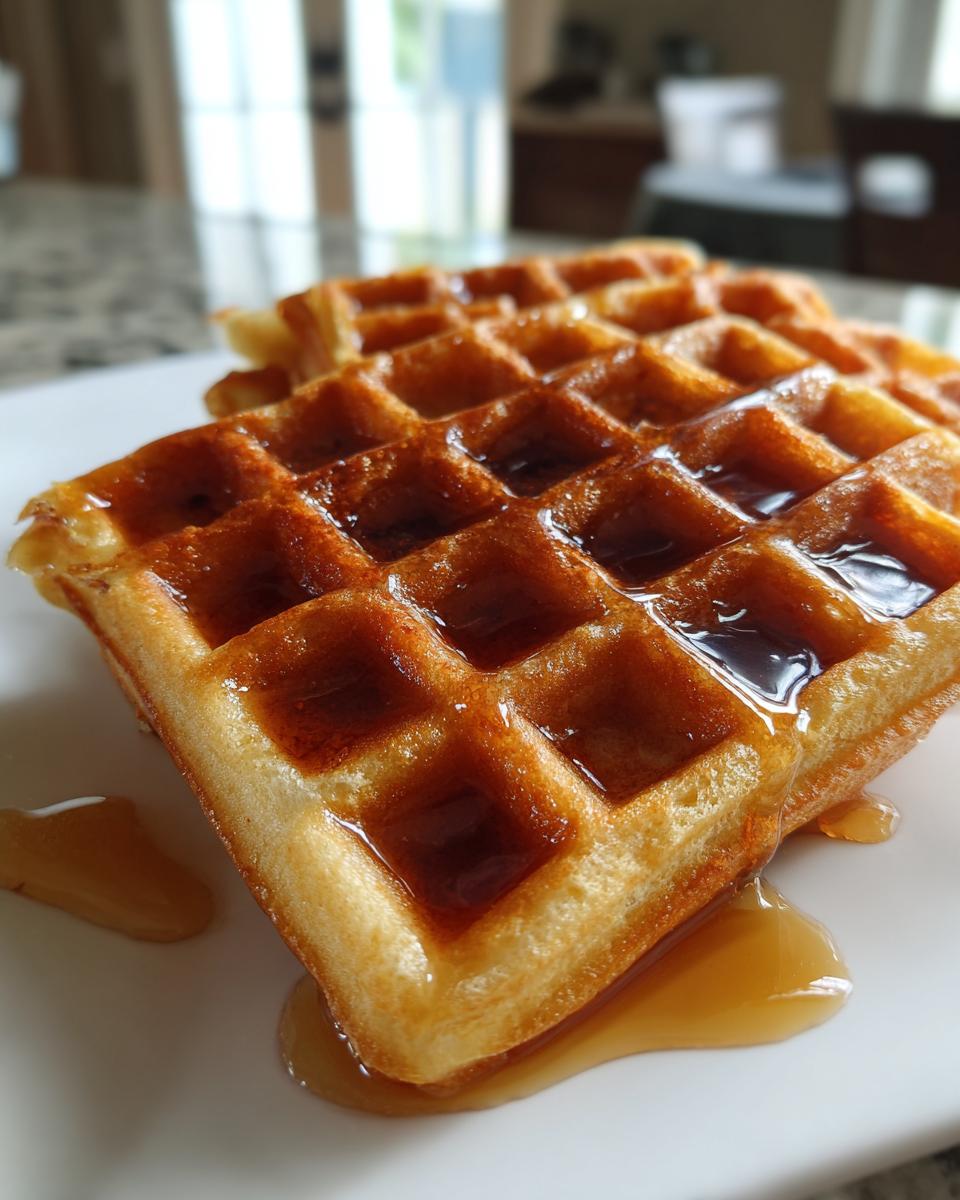
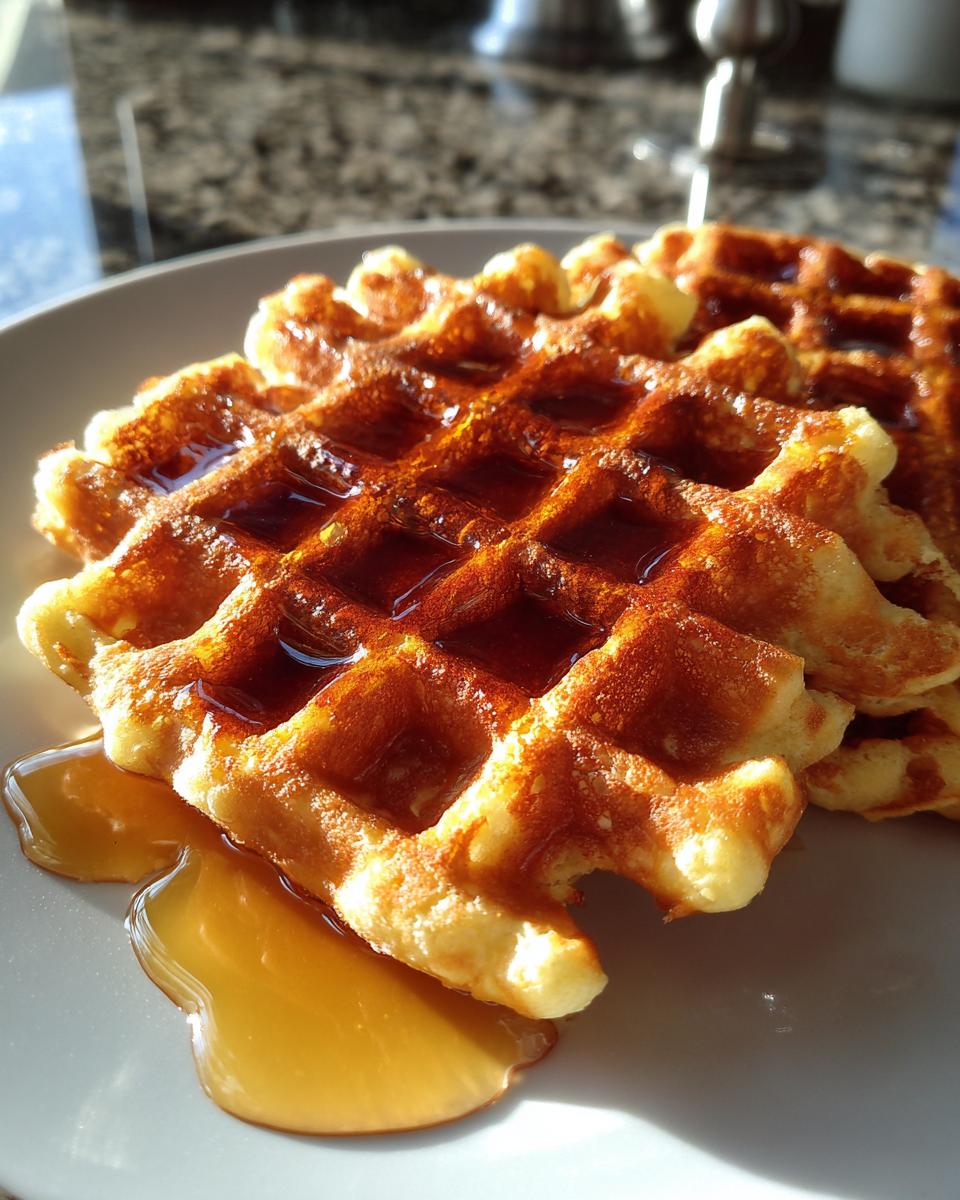
There’s nothing like the smell of waffles wafting through the house on a lazy Sunday morning—especially when they’re crispy on the outside, fluffy on the inside, and totally gluten-free! This gluten-free waffles recipe has been my go-to for years, ever since my sister went gluten-free and I realized how darn easy (and delicious) it is to make them from scratch. No fancy ingredients, no weird aftertaste—just golden, buttery perfection that even gluten-lovers beg for seconds of. The best part? They’re crazy versatile. Top ‘em with berries and syrup for a classic sweet breakfast, or go wild with savory toppings like fried eggs and avocado. Trust me, once you nail this recipe, you’ll never go back to frozen waffles again. And hey, if my toddler—who’s usually suspicious of anything “healthy”—devours them, that’s proof enough they’re winners.
Ingredients for Gluten Free Waffles Recipe
Gather these simple ingredients – I promise you probably have most of them already! The key to perfect gluten-free waffles is using the right flour blend and paying attention to a few little details that make a big difference. Here’s exactly what you’ll need:
- 1 ½ cups gluten-free flour blend (with xanthan gum) – This is crucial! The xanthan gum helps bind everything together since we’re not using regular flour. My favorite is Bob’s Red Mill 1-to-1 blend, but any good quality blend will work.
- 2 tsp baking powder – Make sure yours is fresh for maximum lift. I give mine the sniff test – if it doesn’t fizz when I sprinkle some in water, it’s time for a new can.
- ½ tsp salt – Just the regular stuff from your shaker. It balances all the flavors beautifully.
- 2 tbsp sugar – I use regular granulated, but coconut sugar works great too if you want to keep it refined sugar-free.
- 2 large eggs – Room temperature eggs incorporate better into the batter. If you forgot to take them out, just pop them in warm water for 5 minutes.
- 1 ½ cups milk – Any kind you like! Dairy milk makes them extra rich, but almond, oat, or coconut milk work perfectly for dairy-free versions.
- ⅓ cup melted butter, cooled slightly – You can sub coconut oil or neutral oil, but butter gives that classic waffle house flavor. Just don’t add it piping hot or it might cook the eggs!
- 1 tsp vanilla extract – The good stuff, please! It makes all the difference in flavor.
How to Make Gluten Free Waffles
Okay, let’s get to the fun part – making these golden beauties! I’ve learned through many (many) batches that the secret to perfect gluten-free waffles lies in the method. Don’t worry, it’s simple, but there are a few key steps that’ll take your waffles from good to “can I have the recipe?” great.
Preparing the Batter
First things first – grab two mixing bowls. In the larger one, whisk together your gluten-free flour blend, baking powder, salt, and sugar. Really get in there and whisk – this helps distribute the leavening evenly so you don’t end up with bitter pockets.
In the second bowl, beat the eggs lightly with a fork until just combined. Then stir in your milk, slightly cooled melted butter, and vanilla. Here’s where I usually sneak a taste test – that vanilla-butter combo smells heavenly!
Now, make a well in your dry ingredients and pour in the wet mixture. This next part is crucial – stir gently just until combined. I mean it! Some small lumps are perfectly fine. Overmixing makes gluten-free batters gummy, and we want light, fluffy waffles. Let the batter rest for about 5 minutes while your waffle iron heats up – this helps the xanthan gum work its magic.
Cooking the Waffles
While your batter rests, preheat your waffle iron to medium-high. If your iron tends to stick (like mine does), give it a quick brush with oil or melted butter. Trust me, scraping stuck waffles is no one’s idea of fun.
When the iron’s ready (you’ll see steam!), pour about ¾ cup batter into the center – exact amount depends on your waffle iron size. Close the lid and resist the urge to peek for at least 3 minutes! Opening too early can tear your waffle apart.
You’ll know they’re done when the steam slows way down and the waffles are golden brown with crisp edges. My test? If I gently press the top and it springs back, they’re perfect. Expect about 3-4 minutes per waffle, but timing varies by iron.
Pro tip: Place finished waffles directly on a wire rack instead of stacking them – this keeps them crispy all over. And don’t worry if the first one isn’t perfect – I call that the “chef’s treat” waffle!
Why You’ll Love This Gluten Free Waffles Recipe
Listen, I get it—gluten-free recipes can sometimes feel like a compromise. But these waffles? They’re the real deal, and here’s why you’ll be making them on repeat:
- Crispy outside, fluffy inside—just like the classic: That perfect contrast of textures is what makes waffles magical. The gluten-free flour blend gives them a golden crunch, while the batter stays light and airy inside. No one will guess they’re gluten-free!
- Pantry staples only—no weird ingredients: No running to specialty stores for this recipe. If you bake gluten-free regularly, you probably have everything on hand already. And if not? The flour blend is easy to find at any grocery store these days.
- Dairy-free? No problem: Just swap the milk and butter for your favorite plant-based alternatives. I’ve made them with almond milk and coconut oil when my niece visits, and she gobbles them up faster than I can flip the waffle iron!
- Freezer-friendly breakfast win: These reheat beautifully in the toaster, making them perfect for busy mornings. I always double the batch and stash extras—because who has time to cook from scratch every day?
Honestly, the only downside is how fast they disappear once your family gets a taste. Consider yourself warned!
Tips for Perfect Gluten Free Waffles
After making more batches of these waffles than I can count (hey, it’s for research!), I’ve picked up some game-changing tricks that guarantee perfect results every time. Here are my absolute must-know tips:
- Let the batter rest for 5 minutes before cooking – This gives the xanthan gum time to work its thickening magic and helps prevent that gritty texture some gluten-free batters can have. I use this time to clean up and set the table – multitasking win!
- Mix with a light hand – Overmixing is the enemy of fluffy waffles. Stir just until the dry ingredients disappear, even if there are some small lumps. I use a rubber spatula and fold gently – no vigorous whisking needed.
- Reheat leftovers in the toaster – This keeps them crispy instead of soggy like microwaving does. My freezer always has a stash of these – just pop them straight from frozen into the toaster for a 2-minute breakfast!
- Don’t skimp on preheating – A properly hot waffle iron gives you that instant crisp we all love. I wait until I see steam rising from mine before adding batter. If your first waffle isn’t as crispy as you’d like, let the iron heat another minute or two.
- Use melted butter or oil in the batter instead of softened – This distributes the fat evenly through the batter for consistent browning. Just make sure it’s cooled slightly so it doesn’t cook the eggs when you mix it in!
One last secret? The first waffle is always the “test waffle” – it helps me adjust the batter consistency or iron temperature before committing to the whole batch. And hey, someone’s got to taste test, right?
Gluten Free Waffles Recipe Variations
One of my favorite things about this gluten-free waffles recipe is how easily you can dress it up or down! When I’m feeling fancy (or just want to use up what’s in my fridge), these simple tweaks keep breakfast exciting. Here are my go-to variations that always impress:
Sweet Twists for Weekend Treats
Saturday mornings call for something special. Try folding in ½ cup fresh blueberries or chocolate chips right after mixing the batter—they distribute better if you toss them with a teaspoon of the flour blend first. My kids go wild when I sprinkle cinnamon sugar on the batter just before closing the waffle iron—it creates this caramelized crust that’s downright dangerous.
Feeling extra? Stir in 1 mashed banana with the wet ingredients for naturally sweet waffles, or add 2 tbsp cocoa powder to the dry mix for chocolate waffles (top with strawberries and whipped cream—trust me). Leftover pumpkin puree? ¼ cup makes them wonderfully moist with warm spice flavors.
Savory Swaps for Brunch Goals
Who says waffles have to be sweet? For the best brunch ever, omit the sugar and vanilla, then stir in ½ cup shredded cheese (cheddar or Gruyère are perfect) and 2 tbsp chopped fresh herbs like chives or rosemary. Top these with a fried egg and avocado for the ultimate savory stack.
My neighbor taught me her genius trick: add cooked, crumbled bacon and diced jalapeños to the batter—spicy, smoky, and absolutely addictive with maple syrup drizzled on top. For grain-free folks, you can even swap ½ cup almond flour for part of the gluten-free blend—just add an extra egg to help bind everything.
The beauty is, once you’ve nailed the basic recipe, the possibilities are endless. Last week I made lemon poppyseed version with zest from 1 lemon and 1 tbsp poppyseeds—bright, crunchy, and perfect with yogurt. What’ll you try first?
Serving Suggestions
Now for the best part—loading up these golden gluten-free waffles with all your favorite toppings! I’ve found that the simpler, the better—let that crispy-on-the-outside, fluffy-on-the-inside texture shine. Here’s how my family loves them:
- Classic maple syrup with a pat of butter melting into all those little squares—pure nostalgia in every bite.
- Fresh berries and whipped cream for when you want to feel fancy (strawberries, blueberries, or raspberries all work magic).
- Greek yogurt and honey drizzle—my go-to when I want something lightly sweet but still protein-packed.
- Peanut or almond butter with banana slices—this combo sticks with you all morning. Pro tip: warm the nut butter slightly so it spreads like dream.
- Savory style with fried eggs and avocado—trust me, the runny yolk soaking into the waffle is life-changing.
Honestly? Sometimes I just eat them straight off the iron like cookies. No judgment here—they’re that good even naked!
Storage & Reheating
Okay, confession time—I rarely have leftovers because these waffles disappear so fast in my house! But when I do manage to stash some away (usually by hiding them behind the milk carton), here’s how I keep them tasting fresh:
For short-term storage, let the waffles cool completely on a wire rack—this prevents condensation from making them soggy. Then stack them in an airtight container with parchment paper between each waffle (like a delicious gluten-free lasagna!). They’ll stay perfect in the fridge for 2 days—though mine never last that long!
Freezing? Absolutely! These waffles freeze like champs. Place cooled waffles in a single layer on a baking sheet and freeze until solid (about 1 hour), then transfer to a freezer bag with parchment separators. They’ll keep for up to 3 months—perfect for grab-and-go breakfasts.
Reheating pro tip: Skip the microwave unless you like rubbery waffles (no judgment!). Instead, pop them straight into the toaster—frozen ones might need an extra cycle. For bigger batches, the oven at 350°F for 5-8 minutes works wonders. The result? Crispy edges and warm centers, just like fresh off the iron!
Fun fact: My kids actually prefer the extra-crispy texture of reheated waffles sometimes. Maybe it’s all those glorious caramelized edges? Either way, it’s a win-win situation!
Gluten Free Waffles Recipe FAQs
After years of making – and eating! – these waffles, I’ve fielded just about every question imaginable. Here are the answers to the ones I get asked most often (usually while people are licking syrup off their fingers):
Can I freeze these waffles?
Absolutely! In fact, I always make a double batch just for freezing. Let them cool completely first (this is key!), then layer them between parchment paper in a freezer bag. They’ll keep beautifully for up to 3 months. When you’re ready, pop them straight into the toaster from frozen – no need to thaw. They come out just as crispy as the day you made them!
What’s the best gluten-free flour to use?
Hands down, a 1:1 gluten-free blend with xanthan gum works best. My ride-or-die is Bob’s Red Mill brand because it never fails me, but King Arthur and Cup4Cup blends work great too. The xanthan gum is crucial – it mimics gluten’s binding properties. Without it, your waffles might crumble apart. Whatever you do, don’t use straight almond or coconut flour – they behave completely differently!
Why did my waffles stick to the iron?
Oh no – the dreaded waffle graveyard! Usually this happens for one of three reasons: 1) Your iron wasn’t hot enough before adding batter (wait for steam!), 2) You didn’t grease it properly (I use a pastry brush with melted butter for hard-to-reach spots), or 3) You peeked too soon (patience is a virtue with waffles). If they’re sticking, let the iron heat another minute, grease it again, and resist lifting that lid for at least 2 minutes next time.
Can I make the batter ahead of time?
You can…but I don’t recommend it. Gluten-free batters tend to thicken up too much as they sit. If you must prep ahead, mix the dry and wet ingredients separately the night before, then combine them in the morning. The longest I’ll let mixed batter rest is about 30 minutes in the fridge – any longer and the waffles can turn out dense.
Why are my waffles soggy instead of crispy?
This breaks my heart! Usually it’s one of three issues: 1) Not enough fat in the batter (don’t skimp on that butter!), 2) Overmixing (which develops too much air), or 3) Stacking them hot (the steam makes them soft). My foolproof solution? Let each waffle cool on a wire rack for a minute before serving, and make sure your batter isn’t too thin – it should pour slowly off a spoon.
Got more questions? Drop them in the comments – I could talk gluten-free waffles all day! (And eat them all day too…)
Nutritional Information
Okay, let’s talk numbers—but remember, these are estimates based on the ingredients I typically use. Your exact values might vary slightly depending on your flour blend or milk choice. Here’s the breakdown per waffle (recipe makes about 4 generous servings):
- Calories: 220
- Fat: 10g (5g saturated)
- Carbohydrates: 28g
- Fiber: 2g
- Sugar: 5g
- Protein: 5g
Not too shabby for something that tastes this indulgent, right? And if you’re watching specific macros, you can easily tweak them—swap sugar for monk fruit sweetener, use egg whites instead of whole eggs, or go with low-fat milk. But hey, Sunday mornings are for living a little if you ask me!
Now it’s your turn—I want to hear how your gluten-free waffle adventure goes! Did you stick with the classic version or try one of the fun variations? Any brilliant tweaks I should know about? Drop your results (and any photos!) in the comments below. Happy waffling, friends! For more delicious recipes, you can check out RecipeTin Eats.
PrintCrispy Gluten Free Waffles Recipe That Taste Amazing
A simple and delicious gluten-free waffle recipe perfect for a healthy breakfast.
- Prep Time: 10 mins
- Cook Time: 15 mins
- Total Time: 25 mins
- Yield: 4 waffles 1x
- Category: Breakfast
- Method: Waffle Iron
- Cuisine: American
- Diet: Gluten Free
Ingredients
- 1 ½ cups gluten-free flour blend
- 2 tsp baking powder
- ½ tsp salt
- 2 tbsp sugar
- 2 eggs
- 1 ½ cups milk (or dairy-free alternative)
- ⅓ cup melted butter (or oil)
- 1 tsp vanilla extract
Instructions
- Preheat your waffle iron.
- In a large bowl, whisk together gluten-free flour, baking powder, salt, and sugar.
- In another bowl, beat eggs and mix in milk, melted butter, and vanilla.
- Pour wet ingredients into dry ingredients and stir until combined.
- Pour batter onto the hot waffle iron and cook until golden brown.
- Serve warm with toppings of your choice.
Notes
- For crispier waffles, let the batter rest for 5 minutes before cooking.
- Use a gluten-free flour blend that includes xanthan gum for better texture.
- Store leftovers in an airtight container and reheat in a toaster.
Nutrition
- Serving Size: 1 waffle
- Calories: 220
- Sugar: 5g
- Sodium: 320mg
- Fat: 10g
- Saturated Fat: 5g
- Unsaturated Fat: 4g
- Trans Fat: 0g
- Carbohydrates: 28g
- Fiber: 2g
- Protein: 5g
- Cholesterol: 60mg